Introduction
Are you looking for a fun and simple way to unleash your creativity this autumn season? Drawing a pumpkin is an excellent way to get started! Whether you’re a beginner or an experienced artist, a well-crafted pumpkin drawing can be a beautiful and satisfying artistic accomplishment.
This article provides a detailed, step-by-step guide to help you achieve the perfect pumpkin drawing that you can be proud of. We will start with the basics and progress to more advanced techniques, making it easy to follow along regardless of your skill level.
Step-by-Step Guide to Drawing a Perfect Pumpkin
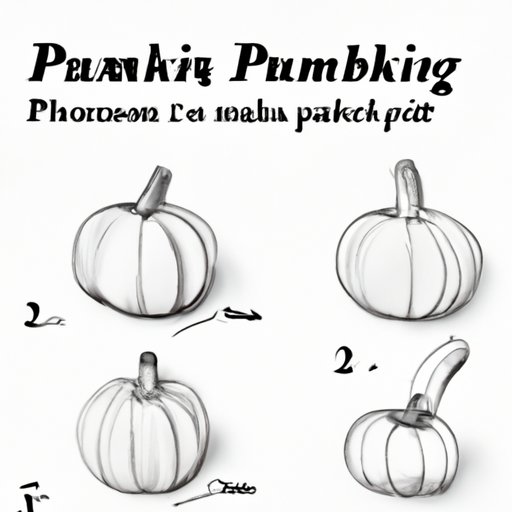
The first step in drawing a pumpkin is to start with a sketch. You can use a pencil, charcoal, or any other preferred tools to create a sketch of the pumpkin’s outer shape. Next, use a darker shade to outline the pumpkin.
Make sure you observe the pumpkin’s proportions and anatomy while drawing. This means taking into account the height, width, and depth of the pumpkin, along with the shape of the stem and ridges of the pumpkin’s surface.
Once the outer shape is complete, you can move on to shading and coloring. Use a blending brush or a stump to distribute the pencil lead to give the pumpkin more depth and volume and create shadows where required.
You can also use color pencils or watercolors to add color to the pumpkin, either by overlapping the colors to create different shades or simply by layering the different colors in such a way that they blend seamlessly into one another.
Pumpkin Drawing 101: The Basics You Need to Know
Drawing pumpkins is easier when you’re familiar with the basic concepts and techniques involved.
To begin with, it’s important to start by sketching an oval shape that’s wider at the bottom than it is at the top. The stem sits at the top center of the oval. The pumpkin’s ridges can then be added, keeping in mind the size and orientation of each ridge.
As you go along, it’s important to keep the pumpkin symmetrical, that is, every valley and curve on one side should have an equivalent match on the opposite side.
Effortless Pumpkin Drawing Techniques for Beginners
If you’re a beginner looking for easy-to-follow techniques to draw a pumpkin easily, then this section is for you.
One technique is to start with a circle instead of an oval. Then, draw a V shape to create the division between the two sections of the pumpkin, and add the stem and ridges.
Another easy-to-follow technique is to use basic shapes such as triangles and rectangles as a starting point for the pumpkin’s shape. You can then add the curves and ridges to reflect the pumpkin’s unique characteristics.
From Mess to Masterpiece: How to Draw Pumpkins That Look Amazing
If you’re drawing a pumpkin, you probably want it to stand out. In this section, we’ll explore ways to add texture, detail, and creative design elements to make your pumpkin drawing stand out.
For example, you could add highlights and shadows to make the pumpkin look three-dimensional. You could also add leaves, vines, or other decorative elements to create a unique and personalized pumpkin design.
How to Draw Pumpkins Like a Pro: Expert Tips and Tricks
Are you ready to take your pumpkin drawing to the next level? In this section, we’ll cover advanced techniques you can use to create pumpkins with increased precision, depth, and sophistication.
One technique used by professionals is to use a range of drawing materials such as charcoal or pen. Charcoal creates rich and blended tones while a pen creates precise and bold lines.
Another technique to consider is to create depth and shadows by blending together different tones and using carefully placed lines to avoid overdoing the shadows.
Drawing Pumpkins for Kids: Simple and Fun Ideas for Young Artists
Drawing pumpkins can be an excellent way to get kids interested in art. This section will provide some kid-friendly pumpkin drawing ideas to get children excited and engaged.
One fun approach is to turn the pumpkin into a friendly monster with additional features, such as eyes, fangs, or tentacles. Another approach is to add a whimsical or playful twist to the pumpkin’s design, such as drawing it as a smiling cupcake or face.
Conclusion
Drawing a pumpkin can be a fun and rewarding activity for artists of any level, and with so many techniques and ideas presented in this article, finding the inspiration to get started is easy! Whether you’re a beginner or an experienced artist, don’t forget to experiment with different tools, shapes, and styles to find what works best for your pumpkin-inspired masterpiece.
We encourage you to share your finished drawings in the comments section and explore additional resources or suggestions shared by other community members.