Introduction
Learning how to draw an owl can be a fun and rewarding experience, whether you’re an aspiring artist or just looking for a new hobby. In this article, we will cover different approaches to drawing owls, provide step-by-step guides with relevant images and tips, discuss the importance of observing owls, and explore variations of owl drawing. Whether you are a beginner or an advanced artist, this guide is for you.
Step-by-Step Guide
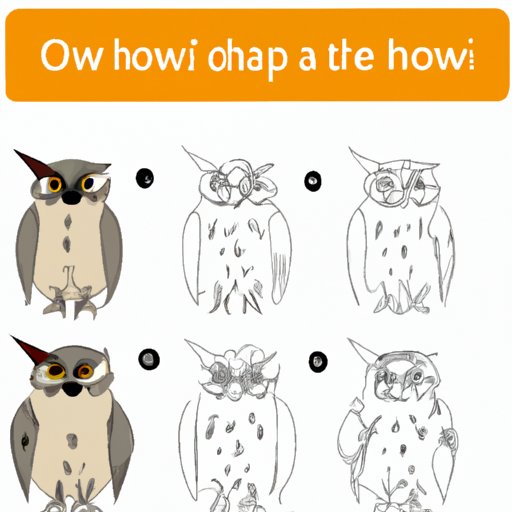
Before you begin drawing an owl, it’s important to gather all the materials you need, including paper, pencil, eraser, and any other drawing tools that you prefer. Once you have your tools, follow these simple steps to draw an owl:
- Draw a circle for the head.
- Add two circles for the eyes on the upper part of the head.
- Draw a curved beak under the eyes.
- Add two more circles on the sides of the head for the owl’s ears.
- Draw two semi-circles below the head for the owl’s body.
- Add two smaller semi-circles for the wings and two more for the legs.
- Draw in the feathers with curved, tapered lines.
- Erase any unnecessary lines, and shade in the body and feathers to add depth.
For a more detailed guide with images and tips on each step, check out our article on How to Draw an Owl in 8 Easy Steps.
Variations of Owl
There are many different types of owls, each with unique features that make them interesting to draw. Here are a few examples of types of owls and how to draw them:
- Great Horned Owl: Draw large, curved eyebrows and small tufts on the head to depict the horns.
- Snowy Owl: Draw a fluffy, feathered body and a round head with bright yellow eyes.
- Barn Owl: Draw a heart-shaped face, with a short beak and large eyes.
For more in-depth guides on how to draw each type of owl, check out our article on Different Types of Owls and How to Draw Them.
Beginning to Advanced
Whether you’re new to drawing or have been doing it for years, there is always room for improvement. Here are some tips for drawing owls at different skill levels:
- For beginners, start with basic shapes and outlines, and gradually add more detail as you get more comfortable.
- Intermediate artists can experiment with different shading techniques to add depth and texture to their drawings.
- Advanced artists can focus on capturing the unique features of each owl species and adding intricate details to their drawings.
Remember that practice makes perfect, so don’t be afraid to experiment and try new techniques.
Importance of Observing Owl
One of the most important aspects of drawing an owl is observing it in detail. Owls have unique characteristics and features that make them interesting subjects to draw, including their feathers, eyes, and posture. By observing a real owl, you can incorporate these attributes into your drawing and make it more realistic. Here are a few tips for observing an owl:
- Study the owl’s body structure and the relationship between its different parts.
- Pay attention to the owl’s movements and posture, and try to capture its unique personality in your drawing.
- Take note of the lighting and shadows around the owl to add depth and dimension to your drawing.
Animated Owl
If you’re looking to draw an owl in a more creative and animated style, there are many techniques you can try. Adding color and creative backgrounds can help appeal to a wider audience and make your drawing stand out. Here are some tips for adding a creative spin to your owl drawing:
- Use bright, bold colors to make your owl pop.
- Add a whimsical or fantastical background to your drawing to create a story around the owl.
- Experiment with different drawing styles, such as cartoon or graphic design, to give your owl a unique look.
Conclusion
Drawing an owl can be a fun and rewarding experience for artists of all skill levels. By following these step-by-step guides and practicing regularly, you can improve your drawing skills and create beautiful owl drawings. Don’t be afraid to experiment with different types of owls and drawing techniques, and always remember to observe your subject in detail before starting your drawing. For further learning, check out our recommended resources below.