Introduction
Drawing a realistic fist can be a challenge for many artists. However, mastering this skill can add a sense of depth, energy, and emotion to your artwork. In this article, we will provide a step-by-step guide for beginners, tips and tricks for shading and highlighting, techniques for drawing a fist from various angles, and more.
Step-by-Step Guide for Beginners
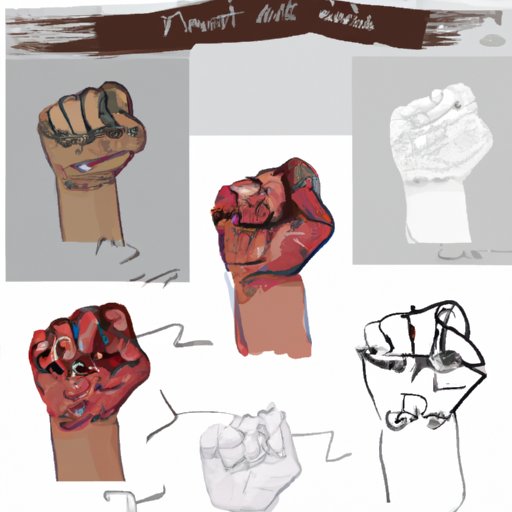
The first step in drawing a fist is understanding its basic proportions and structure. Begin by sketching out the hand, wrist, and forearm. Gradually add details, such as the knuckles, fingers, and fingernails. Finally, add shading and texture to create depth and dimension.
Here are some tips to help you along the way:
- Use layered strokes for a more realistic look
- Pay attention to the direction of the light source and highlight accordingly
- Gradually build up the shading for a more subtle effect
Drawing a Fist in Different Angles and Perspectives
Drawing a fist from different angles and perspectives can help add visual interest and variety to your artwork. Begin by familiarizing yourself with the basic structure of the hand. From there, experiment with drawing fists from different angles and perspectives, such as a side view or a fist viewed from below.
Here are some techniques to help you get started:
- Use basic shapes, such as circles and rectangles, to map out the fist from different angles
- Use a reference photo or image to better understand the perspective
- Pay attention to the foreshortening of the fingers and knuckles when drawing from certain angles
Tips and Tricks for Shading and Highlighting a Fist Drawing
Shading and highlighting can add depth and dimension to your fist drawings. Begin by understanding the basic values of light and shadow. Pay attention to the direction and intensity of the light source when shading your drawing. Gradually build up the shading to create subtle variations in tone and value.
Here are some tips to help you achieve a more realistic look:
- Use different pencils, such as a 2B or 4B, to create deeper shadows
- Use a blending tool, such as a tortillion or blending stump, to smooth out your shading
- Add highlights with a white pencil or eraser to create a sense of texture and depth
Understanding the Anatomy of a Fist for Accurate Drawing
To draw a fist accurately, it’s important to understand its basic anatomy. Begin by sketching out the basic shape of the hand and fingers. Pay attention to the placement and proportion of the knuckles, bones, and muscles. Gradually add details, such as the tendons and ligaments that make up the structure of the hand.
Here are some tips to help you improve your understanding of hand anatomy:
- Study reference photos or images to gain a better understanding of hand anatomy
- Practice drawing individual parts of the hand, such as the bones or muscles
- Pay attention to the structure of the hand when drawing from observation
Drawing a Superimposed Fist on Another Object or Character
Superimposing a fist on another object or character can add a sense of energy and excitement to your artwork. Begin by mapping out the basic structure of the second object or character. From there, sketch out the basic shape of the fist, taking into account the placement and placement of the fingers and knuckles in relation to the object or character.
Here are some tips to help you create a more seamless drawing:
- Pay attention to the angles and perspectives of both the fist and the other object or character
- Use a lighter pencil to sketch out the basic shape of the fist before adding details
- Blend the lines of the fist and object together to create a more natural look
Adding Emotion and Expression to a Fist Drawing
Adding emotion and expression to a fist drawing can help convey a sense of energy, power, and emotion. Begin by understanding the different ways a fist can be clenched to convey different emotions, such as anger, frustration, or determination. From there, add details such as the eyes or facial expression to create a sense of mood and tone.
Here are some tips to help you add emotion and expression to your fists:
- Study reference photos or images to better understand the relationship between facial expressions and fist positioning
- Practice drawing fists in different positions and with different emotions to improve your skills
- Pay attention to the overall composition of the piece and how the fist fits into it
Using Digital Tools to Create a Stylized or Animated Fist Illustration
Digital tools can be a powerful way to create stylized or animated fist illustrations. Begin by selecting the appropriate digital tools and software for your project. From there, experiment with different techniques and styles to create the desired effect.
Here are some tips to help you get started:
- Experiment with different brushes and effects to create a unique style
- Use keyframe animation and motion graphics to add movement and energy to your illustrations
- Pay attention to the overall composition and how the fist fits into the larger piece
Conclusion
Drawing a fist can be a challenging but rewarding experience for artists of all skill levels. By following the steps and techniques outlined in this article, you can improve your skills and create more realistic and dynamic artworks.