Introduction
Drawing an eye can be a challenging task for beginners and even experienced artists. It requires a good understanding of the eye’s anatomy and the ability to capture its intricate details. However, learning how to draw an eye is a vital skill for any artist, especially those interested in portraiture and figure drawing. In this article, we will provide a step-by-step guide to drawing an eye, including a video tutorial, tips and tricks, practice exercises, and troubleshooting common mistakes.
Step-by-Step Guide
To draw an eye, follow these basic steps:
A. Defining the basic shape of the eye.
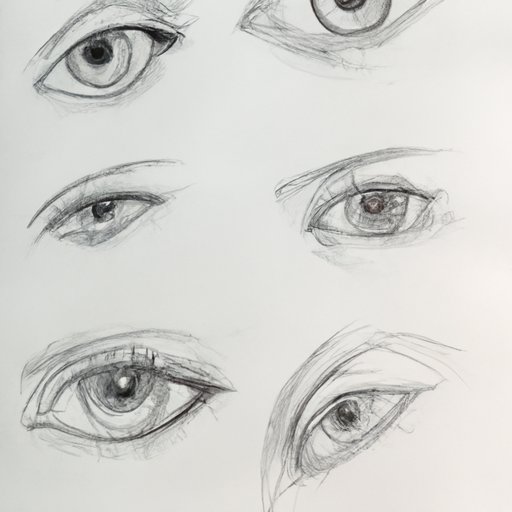
The first step in drawing an eye is to define its basic shape. Start by drawing a circle or oval shape for the eye’s overall structure. Next, draw a small circle in the center of the eye for the pupil and a slightly larger circle around the pupil for the iris.
B. Sketching the iris and pupil
Next, sketch the iris by adding details such as its texture and color. The iris should extend beyond the pupil and have a slightly jagged edge. Add shading to the pupil to create the impression of depth.
C. Adding eyelids and lashes
Draw the upper and lower eyelids, which should curve slightly and overlap the iris and pupil. Add the lashes, starting from the upper eyelid and getting shorter as they move down towards the lower eyelid.
D. Completing the final touches
Finally, add some finishing touches such as the tear duct, highlights in the eye, and shading to create depth.
For a more detailed explanation of each step, including images, check out our step-by-step guide to drawing an eye.
Video Tutorial
While written instructions can be helpful, nothing beats seeing the drawing process in action. That’s why we’ve created a video tutorial that covers every step of drawing an eye in detail. The video tutorial is perfect for those who prefer visual learning and want to see the process in real-time. The video tutorial can be found at [insert link here].
Using a Reference Photo
Using a reference photo when drawing an eye is an essential part of the process. It helps ensure that you accurately capture the eye’s shape, size, and details. When selecting a reference photo, choose one that is clear and has good lighting to help capture all the necessary details.
When using a reference photo, it’s important to use it as a guide rather than copying it exactly. Use your artistic judgment to alter details such as the iris color or eyelash shape to create a more personalized drawing.
Tips and Tricks
Here are some tips and tricks to keep in mind when drawing an eye:
A. Using light and shadow to create depth
Adding shading to your drawing can help create depth and give the eye a more lifelike appearance. Use small, controlled strokes to add shading to the skin around the eye and the eyelids.
B. Drawing from observation
If possible, practice drawing eyes from observation, such as from a live model or a photograph. This can help train your eye to accurately capture the eye’s details.
C. Using the right materials to achieve the desired effect
The materials you use, such as pencils or pens, can affect the final outcome of your drawing. Experiment with different materials to find the ones that work best for you and the effect you’re trying to achieve.
D. Other tips to make the drawing easier and more realistic
Other tips to keep in mind when drawing an eye include starting with light pencil strokes, practicing drawing individual parts of the eye such as the iris or eyelashes, and taking regular breaks to avoid eye strain or fatigue.
Practice Exercises
To improve your eye drawing skills, try these practice exercises:
A. Practice exercises for different parts of the eye such as the pupil, iris, eyelid, and lashes
Focus on drawing each part of the eye individually before attempting to draw the entire eye. This can help you better understand the eye’s anatomy and accurately capture each detail.
B. Explanation for each exercise
For more information on each practice exercise, including step-by-step instructions and images, check out our practice exercises guide.
Troubleshooting Common Mistakes
When drawing an eye, there are some common mistakes to watch out for:
A. Common mistakes when drawing an eye
Common mistakes include misshapen pupils or irises, asymmetrical eyes, and unrealistic eyelashes.
B. Explanation of how to avoid or correct each mistake
To avoid or correct these mistakes, practice drawing individual parts of the eye and use reference photos. Take breaks often to avoid eye strain or fatigue and use proper lighting when working.
Conclusion
With this comprehensive guide to drawing an eye, including a step-by-step guide, video tutorial, tips and tricks, practice exercises, and troubleshooting common mistakes, you’ll be well on your way to mastering this essential skill. Remember to keep practicing and experimenting with different materials and techniques to find the ones that work best for you.