I. Introduction:
Welcome to our step-by-step guide on how to draw a duck. This article is designed for anyone who wants to learn how to draw a duck, from the budding artist to the experienced illustrator looking to improve their skills. In this guide, we provide clear instructions with accompanying illustrations to help you create a beautiful duck drawing. Ducks are a popular subject for drawing due to their unique features and charming personalities. Did you know that ducks are one of the most diverse groups of birds, with over 120 different species? They are also known for their aquatic abilities and their adorable waddles.
II. Step-by-Step Guide:
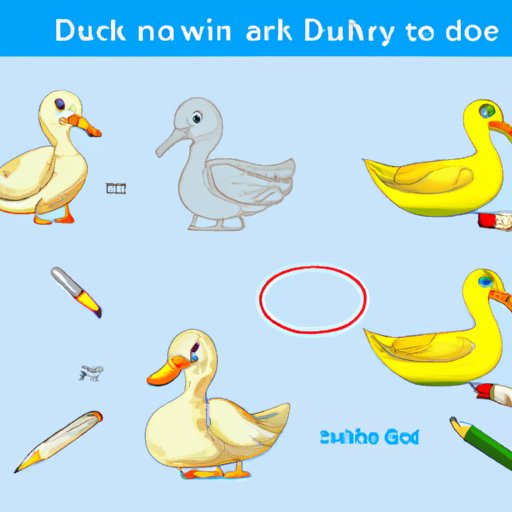
To start drawing a duck, begin with a simple sketch of its body and head using basic shapes like circles and ovals. Draw the details of the duck’s bill and eyes. Then, move on to adding the feathers and outlining the wings. Finally, illustrate the legs and webbed feet to complete the drawing. Remember to take your time, and don’t worry if it’s not perfect the first time.
III. Tips and Tricks:
The key to capturing the unique features of a duck is to pay attention to the details. When drawing the bill, make sure to note its length and curvature. For the feathers, use long, flowing strokes to create a sense of movement. To add depth and texture to the drawing, consider using cross-hatching or shading. When choosing the right pencil, aim for one that is not too hard or too soft, and use paper that has a little bit of texture to add dimension to your drawing.
IV. Narrative Piece:
The first time I attempted to draw a duck, I was intimidated by its unique features and worried it wouldn’t turn out right. However, with practice and patience, I was able to create a drawing that I was proud of. I learned that taking my time and paying attention to the details was key, and that it’s okay to make mistakes along the way. The joy of seeing the finished product made all the effort worthwhile.
V. Infographic or Visual Guide:
Please see the accompanying visual guide that breaks down the drawing process into easy-to-follow segments.
VI. Materials and Tools:
To draw a duck, you will need the following materials: pencils (HB or 2B), paper (preferably textured), eraser, and a sharpener. We recommend using Faber-Castell or Prismacolor pencils, as they are high-quality and produce beautiful results. As for paper, try using Bristol Board or Canson Drawing Paper. These papers have the perfect texture to add depth to your drawings. And don’t forget an eraser to help you correct any mistakes along the way.
VII. Online Resources:
For those looking to delve deeper into the world of duck drawing, there are many helpful resources available online. Some of our favorites include the YouTube Channel Circle Line Art School and the website Beginner’s School. Videos and tutorials can provide helpful tips and tricks from experienced artists. Additionally, consider taking a class or workshop in your area to connect with other artists and receive expert guidance.
VIII. Conclusion:
Drawing a duck can seem daunting at first, but with the right tools and techniques, you can create a beautiful and captivating drawing. Remember to have patience and take time to focus on the details. We hope this guide has provided you with helpful tips and personal narratives, and that it has inspired you to put your duck-drawing skills into practice.