I. Introduction
Do you want to learn how to draw a diamond? While the shape might seem simple at first, getting all the angles and proportions just right can be challenging for beginners. But with the right guidance and tips, anyone can master the art of drawing a diamond. This article will provide a step-by-step guide, tips for different styles, suggestions for art supplies, and even fun facts about diamonds. Whether you’re a seasoned artist or just starting out, you’re sure to find something useful.
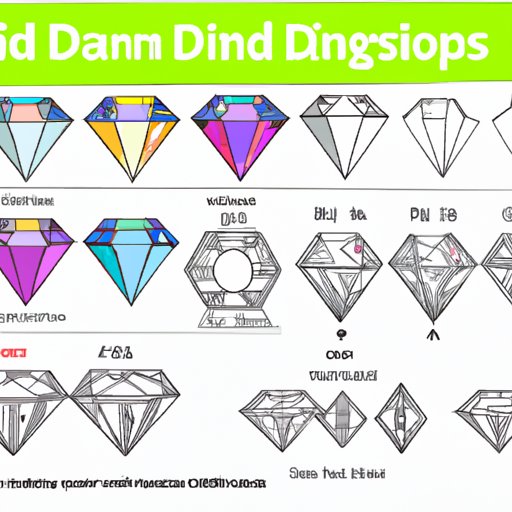
II. A Step-by-Step Guide
The key to drawing a diamond is breaking it down into clear steps. Here are some tips:
Step 1: Draw a Square
Start by drawing a square the size you want your diamond. You can use a ruler to ensure your lines are straight.
Step 2: Draw Two Triangles
Sketch two triangles on top of the square, pointing upwards and downwards. They should meet in the center to form a diamond shape.
Step 3: Add the Details
Erase any excess lines and add details such as shading and highlights to make the diamond more realistic. Check the angles of your shapes to ensure they’re correct.
Remember to take your time and go slowly, making adjustments as needed. If you make a mistake, simply erase and try again. It’s all part of the learning process!
III. A Video Tutorial
If you’re more of a visual learner, don’t worry! We have a short video that demonstrates the process of drawing a diamond step by step. Check it out:
As you can see, the video breaks down the steps in a clear and easy-to-follow way. Pay attention to the details and try to replicate them as you follow along.
IV. Different Styles
Just because they’re all diamonds doesn’t mean they have to look the same! Here are some different styles to try:
Realistic Diamonds
If you want to create a drawing that looks like a photograph, try a realistic style. This involves using shading and highlights to make the diamond appear 3D. This style requires patience and attention to detail, but the result is impressive.
Simple Diamonds
If you prefer a more minimalist look, try a simple style. This would involve using less shading and fewer details to make the diamond stand out. This style is great for quick sketches or if you want to emphasize the diamond’s shape.
Cartoon Diamonds
If you’re looking for a fun and whimsical style, try a cartoon style. This would involve exaggerating certain features of the diamond, such as the size or shape of the facets. You can use bold lines and bright colors to make your cartoon diamond stand out.
Experiment with different styles and find the one that suits you best. Don’t be afraid to mix and match different techniques to create a unique look.
V. Materials to Use
The right art supplies can make all the difference when it comes to drawing a diamond. Here are some recommendations:
Pencils
Use a pencil to sketch your diamond before adding details. A hard lead pencil, such as an H or 2H, is great for making light marks that won’t smudge. A softer pencil, such as a B or 2B, can make darker lines for shading.
Pens
A fineliner pen or marker is a great choice for adding details and outlines to your diamond. You can use it to create a crisp, clean look.
Shading Tools
To create shading and highlights on your diamond, you can use a variety of tools such as charcoal, chalk, or blending stumps. Experiment with different tools to find the one that works best for you.
Remember, the quality of your materials can affect the final result. While you don’t need to splurge on expensive supplies, investing in better materials can help take your drawings to the next level.
VI. Common Mistakes
Even the most skilled artists make mistakes. Here are some common mistakes to watch out for:
Uneven Angles
If the angles of your diamond aren’t even, it can throw off the whole drawing. Make sure to double-check each line to ensure they’re straight and even.
Too Much Contrast
While shading is important for making your diamond look 3D, too much contrast can make it look unrealistic. Use a light hand when shading and blend it out with a blending tool for a more subtle effect.
Not Enough Details
While a simplistic style can be great, too few details can make your diamond look boring. Add details such as reflections or facets to make it stand out.
If you find yourself making any of these mistakes, don’t get frustrated! Try again and keep practicing until you get it right.
VII. Diamond-Inspired Art
Diamonds can inspire all sorts of artistic creations. Here are some ideas to get you started:
Diamond Theme
Create a piece of art that revolves around diamonds. This could be a painting or a mixed media piece that incorporates different textures and materials.
Diamond in a Landscape
Create a scene that includes a diamond in the background or foreground. This could be a mountain range or a city skyline, with a diamond tucked in as a hidden gem.
Diamond Accessories
Create an accessory with a diamond as the centerpiece. You could create a necklace, earrings, or even a tiara or crown.
Use your imagination and have fun with it. Diamonds can add a touch of glamour and elegance to any piece of art.
VIII. Fun Facts About Diamonds
Did you know that diamonds have a rich history and symbolism? Here are some fun facts to impress your friends:
Huge Diamonds
The largest rough diamond ever discovered weighed in at a staggering 3,106 carats. It was discovered in South Africa in 1905 and named the Cullinan Diamond.
Greek Symbolism
Ancient Greeks believed that diamonds were splinters of stars that had fallen to earth. They also believed that wearing a diamond would give the wearer strength and courage.
Diamonds as Healers
Some people believe that diamonds have healing properties. They’re said to help clear the mind and improve overall well-being.
These are just a few of the many interesting facts about diamonds. Incorporate them into your artwork or impress your friends with your diamond trivia knowledge!
IX. Conclusion
Drawing a diamond can be a challenge, but with the right techniques and tools, anyone can create a stunning rendering. Use this step-by-step guide to help you get started, then experiment with different styles and techniques until you find the one that works best for you. Don’t be afraid to make mistakes; every great artist has to start somewhere.