I. Introduction
Do you want to learn how to draw a bike that captures the excitement and freedom associated with riding one? Drawing a bike is a great way to explore your creativity, and it’s a fun challenge for artists of all skill levels. Whether you want to create a realistic drawing or a stylised piece of art, this step-by-step guide will help you achieve your goal.
In this article, we will provide you with a comprehensive guide to drawing a bike that is easy to follow, even if you’re a beginner. We will cover everything from the necessary materials to the minute details that make a bike stand out and look real. Let’s get started!
II. Step-by-Step Guide
The first step to drawing a bike is gathering the necessary materials. You will need a good quality paper, a reliable eraser, a set of pencils with a range of shades from light to dark, and a ruler. Once you have your supplies, follow these steps:
- Use your ruler and lightly draw two parallel lines that will serve as the bike’s wheels.
- Add two circles at the ends of these lines to represent the wheels.
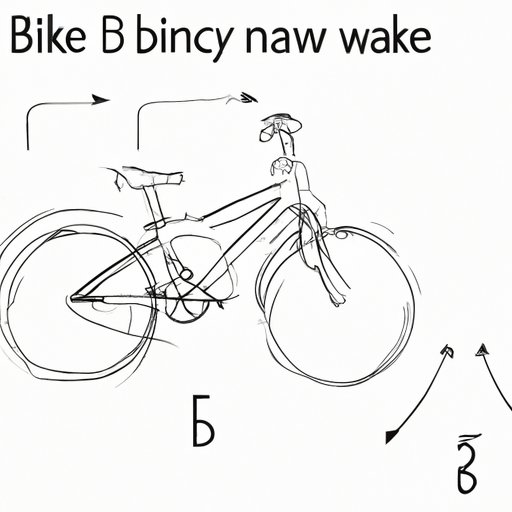
- Draw the bike’s frame, connecting the two wheels, using a thin and light pencil
- Add the details of the handlebars and seat.
- Once you have the basic outline of the bike drawn, it’s time to add the details. Start with the wheels, adding spokes, rims and tires.
- Next, work on the chain and gears, getting the mechanics right and the perspective of the bike looking natural.
- You can now add in any extra details to the bike, such as brake cables, reflectors, lights, or baskets.
- Use a darker pencil for shading and adding depth to the shadows, making the drawing look more realistic.
- Finally, you can erase the light pencil outlines, and your bike drawing is complete.
III. Video Tutorial
For a more detailed and practical guide to drawing a bike, we have created a step-by-step video tutorial for you. It provides an easy way for visual learners to follow all the steps to create their own bike drawing. The video allows pausing, rewinding, and fast-forwarding at any time to ensure that you understand every step and can keep up with the demonstration.
Watch the tutorial below and start drawing your bike today!
IV. Beginner’s Guide
If you’re a beginner and struggling to know where to start with your bike drawing, breaking the process down into easy-to-follow steps can help you understand and achieve your goal. Here are some tips for getting started:
- Start by sketching the frame, wheels, and handlebars at a reduced size to make the bike easier to visualize
- Pay attention to the proportions, making sure that the seat, handlebars and wheels are all in the right places in relation to each other.
- Work on one part of the bike at a time, making sure that each section is accurately drawn before moving on.
- It’s important to constantly check the reference photo or bike for accuracy and detail.
- When you have mastered the basic steps, you can then add all the smaller details to make your bike stand out and look realistic.
V. Top Tips
Here are our top tips to add depth, texture and realism to your bike drawing. Focusing on these elements will make your drawing stand out.
- When adding shading to the bike, it’s important to pay attention to the direction of the light source.
- Adding minute details like textures to the tires make the bike look more realistic.
- Try to capture the reflections in the wheels and other metal parts to add depth to your drawing.
- Use different shades of pencils to create gradients, giving your bike more dimension and depth.
- When drawing, it’s important to have fun and enjoy the process. Your drawing will show your passion, so make sure that you put love and effort into it.
VI. Infographic
For more visual learners, we have also created an infographic that will help you to break down the process of drawing a bike in an easy-to-understand format. The infographic provides a visual guide that will help you remember the steps involved and serves as a reference that you can come back to again and again.
Check out the infographic below and start drawing your bike today!
VII. Personal Experience
If you’re still feeling unsure about the process of drawing a bike, don’t worry, even experienced artists were beginners once. My personal experience has taught me that practice is key to achieving your goals.
Start by using reference pictures or even sketches of real bikes to practice your drawings. This makes it easier to understand how light works on the bike and helps with shading and depth.
Remember, drawing a bike is a process, and it takes time and practice to get it right, so don’t give up.
VIII. Conclusion
Drawing a bike can be a fun and satisfying experience. Remember to gather the necessary materials, follow the steps outlined in this article, and practice, practice, practice. With our step-by-step guide, video tutorial, infographic, and top tips, you now have everything you need to draw your bike with confidence.
Don’t be afraid to experiment with different styles, colors, and textures until you find the perfect fit for your tastes.