Introduction
Gel nails are a type of manicure that uses a special gel polish that is cured and hardened under an LED lamp. The result is a shiny, long-lasting manicure that can last up to three weeks without chipping or peeling. The process of doing gel nails at home may seem intimidating, but it’s actually quite simple with the right tools and knowledge. In this article, we will walk you through all the steps you need to follow to achieve a salon-quality look in the comfort of your own home.
Step-by-Step Guide
Before you begin, it’s important to gather all the necessary tools and materials:
- Gel nail polish
- Base coat
- Top coat
- LED lamp
- Nail file and buffer
- Nail cleanser
- Cuticle pusher
Once you have everything set up, follow our step-by-step guide:
1. Preparation
Prepare your nails by trimming, filing, and buffing them. Push back your cuticles with a cuticle pusher and clean your nails with nail cleanser. Set up your LED lamp and make sure it’s fully charged.
2. Applying the Base Coat
Apply a thin layer of base coat to your nails and cure it under the LED lamp for 30 seconds. Make sure to cap the edges of your nails with the base coat to ensure maximum adhesion.
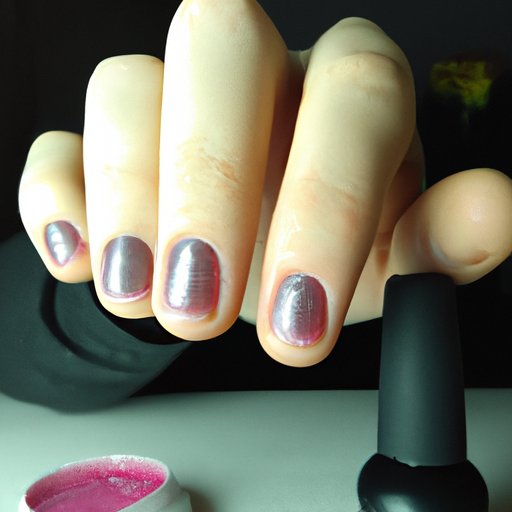
3. Applying the Color Polish
Apply a thin layer of your chosen color polish to your nails and cure it under the LED lamp for 30 seconds. Repeat this step if you want a deeper color.
4. Applying the Top Coat
Apply a thin layer of top coat to your nails and cure it under the LED lamp for 60 seconds. Make sure to cap the edges of your nails with the top coat for maximum protection.
5. Finishing Touches
After curing the top coat, use a nail cleanser to remove the sticky residue from your nails. Apply cuticle oil to your cuticles and moisturize your hands to finish off the look.
Product Reviews
When it comes to at-home gel nails, it’s important to use high-quality products to ensure the best results. Some popular brands of gel nail products include Gelish, OPI, and Sally Hansen.
Gelish is a professional-grade gel nail brand that is known for its long-lasting results. They offer a wide range of colors and finishes to choose from.
OPI has a line of gel nail products that are easily accessible and easy to use. Their products come in a wide variety of colors and in both classic and trendy shades.
Sally Hansen’s Miracle Gel line offers an affordable option for those who want to try gel nails at home. While it may not last as long as professional-grade products, it still offers a great option for a DIY gel manicure.
Video Tutorial
If you’re a visual learner, check out some gel nail tutorials on YouTube. Follow along with the tutorial to get a better understanding of the process.
Common Mistakes
One of the most common mistakes when doing gel nails at home is not applying the correct the amount of product. It’s vital to apply thin layers of polish to avoid a lumpy, uneven finish. Another mistake is not curing the polish under the LED lamp for the necessary amount of time, which can lead to lifting or peeling of the polish.
If you do make a mistake, don’t panic. Simply use a cotton swab dipped in nail cleanser to remove the mistake before it’s cured.
Maintenance Tips
Once your gel nails are done, it’s important to take care of them properly to ensure they stay strong and healthy. Avoid using your nails as tools or exposing them to harsh chemicals. To remove the gel nails safely, use acetone and avoid peeling or picking them off as this can cause damage to your natural nails.
Troubleshooting Guide
If you experience an uneven or bubbly surface after curing, gently file the nails and then apply another layer of top coat. If you notice lifting or peeling, try re-curing the polish under the LED lamp or applying another thin layer of clear polish to the affected area.
If you experience any skin reactions, remove the gel nails immediately and seek medical attention if symptoms persist.
Health and Safety Tips
When doing gel nails at home, it’s important to practice safety precautions. Avoid inhaling the fumes from the polish and use acetone in a well-ventilated area. Keep the LED lamp away from any flammable items and avoid touching it with wet hands.
Conclusion
As you can see, doing gel nails at home is a fun and rewarding experience that can save you time and money. With the right tools and knowledge, you can achieve a salon-quality look in the comfort of your own home. Don’t be afraid to experiment with different colors and finishes. Have fun and get creative with your at-home gel nails.