Introduction
Handstands are a challenging but impressive feat of strength, balance, and control. While they may seem intimidating at first, with the right guidance and practice, anyone can learn how to do a handstand. In this article, we’ll provide you with a comprehensive guide on how to do a handstand, including step-by-step instructions, tips for avoiding common mistakes, and exercises to build strength and flexibility.
Step-by-Step Guide
Before attempting a handstand, it’s important to break down the technique into smaller steps to make it more approachable. Begin by standing with your feet hip-width apart and your arms extended overhead. Then follow these steps:
1. Place your hands shoulder-width apart on the ground. Spread your fingers wide and press your palms into the floor.
2. Walk your feet towards your hands until your hips are stacked over your shoulders. Your body should form an L-shape.
3. Bend your knees slightly and look forward between your hands.
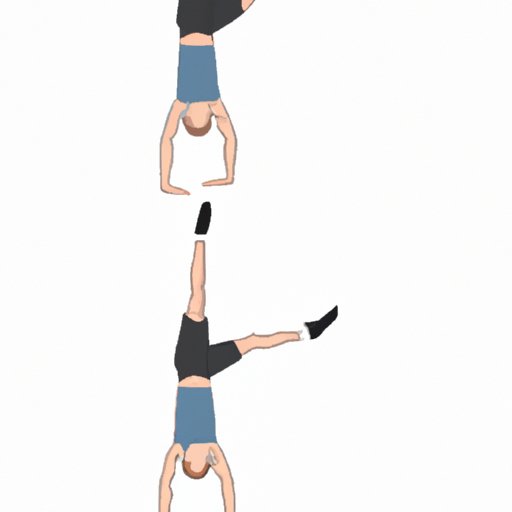
4. Engage your core and lift one leg towards the ceiling. Press evenly through both hands and arms as you lift your other leg to follow.
5. Once both legs are up, squeeze your legs together and point your toes. Hold for a few seconds before slowly lowering down.
To come down safely, simply bend your knees and roll back onto your feet. Avoid jumping or losing control as you come out of the handstand.
Proper Hand Placement and Alignment
Proper hand placement and alignment are crucial for a successful handstand. To ensure that your weight is evenly distributed, follow these guidelines:
1. Spread your fingers wide and grip the ground with your fingertips.
2. Press your palms into the floor and engage your shoulders by lifting them away from your ears.
3. Align your shoulders directly over your wrists. Avoid letting your elbows flare out to the sides or tucking them too close to your body.
4. Stack your hips over your shoulders and your ankles over your hips.
5. Keep your core engaged and your gaze forward to help maintain balance.
Building Strength and Flexibility
To achieve a handstand, it’s important to build strength and flexibility in the muscles that support this pose. Incorporate these exercises and stretches into your practice:
1. Shoulder stretches: Reach one arm across your chest and gently pull it towards your body with the other arm. Repeat on the other side and hold for 30 seconds each.
2. Shoulder taps: In the handstand position, lift one hand off the ground and tap your opposite shoulder. Repeat on the other side for three sets of 10 taps per side.
3. Core exercises: Plank holds, bicycle crunches, and Russian twists all help strengthen the muscles needed for handstands.
4. Leg lifts: Lie on your back and lift your legs towards the ceiling. Lower them back down just above the ground without touching it. Repeat for three sets of 10 reps.
Common Mistakes and How to Avoid Them
As with any new skill, it’s common to make mistakes when learning how to do a handstand. Here are some common ones to avoid:
1. Arching the back: This can strain your lower back and cause you to lose balance. Engage your core and focus on keeping your spine in a neutral position.
2. Bending the arms: This can weaken your pressing strength and put extra pressure on your wrists. Keep your arms straight and use your shoulder strength to hold the pose.
3. Not looking forward: Looking down can throw off your balance. Instead, keep your gaze forward and your neck in a neutral position.
4. Improper alignment: This can lead to inefficient technique and limited progress. Use the guidelines mentioned earlier and practice in front of a mirror for feedback.
Visualization Techniques
Mental preparation is just as important as physical preparation when it comes to handstands. Visualization is a powerful tool that you can use to boost your confidence and improve your technique. Here are some ways to incorporate visualization into your practice:
1. Picture yourself in the perfect alignment: Before attempting a handstand, visualize yourself in the correct hand placement and alignment. Imagine the feeling of pressing into the ground, engaging your core, and effortlessly balancing on your hands.
2. Visualize a successful attempt: Picture yourself kicking up confidently and holding the handstand for several seconds. Visualize yourself lowering down smoothly and with control.
3. Try creative visualization exercises: For example, imagine that you are a tree with roots growing from your hands and feet, keeping you firmly planted in the ground. Or visualize your body as a buoy floating effortlessly on the water.
Partner Work
Practicing handstands with a partner can be a fun and effective way to gain support and feedback. When working with a partner, follow these guidelines:
1. Communicate clearly and often: Discuss your goals and any concerns you may have before beginning. Use verbal cues or hand signals to indicate when you’re ready to begin or when you need help.
2. Ensure safety: Use a soft surface or mat to practice on, and avoid kicking or flailing your legs around your partner.
3. Use partner drills: For example, one partner can hold the other’s legs as they kick up into a handstand, or two partners can practice holding each other’s hands and leaning back into a supported handstand.
Additional Tips and Tricks
Here are some additional tips to enhance your handstand practice:
1. Focus on your breath: Take slow, deep breaths to calm your nerves and stay centered. Exhale as you lift your legs towards the ceiling for extra power.
2. Practice with props: Use a wall for support or practice on a soft surface to reduce impact on your wrists and joints.
3. Progress gradually: Start with a basic handstand and gradually work your way up to more challenging variations, such as a one-arm handstand or a handstand push-up.
Conclusion
Learning how to do a handstand can be an exciting and rewarding journey. By following the guidelines outlined in this article, you can build the strength, balance, and control needed to achieve this impressive pose. Remember to practice regularly, be patient with yourself, and seek feedback or guidance from a teacher or coach if possible. With determination and dedication, you can master the art of handstands and experience the many physical and mental benefits they provide.