Introduction
If you own an iPhone, you know how important it is to manage your photos. With limited storage capacity, it’s essential to know how to delete photos from your device so you can free up space for new memories. In this article, we’ll walk you through how to delete photos from your iPhone using various methods. Whether you prefer to use iCloud, third-party apps, or your computer, we’ve got you covered.
Step-by-Step Guide to Deleting Photos
Let’s start with the basic steps of deleting photos from an iPhone. First, open the Photos app, and select the photo(s) you want to delete. Next, click on the trash can icon located at the bottom right-hand corner of the screen. Confirm the action by selecting “Delete Photo(s).” It’s that easy! If you’re having difficulties finding specific photos or folders to delete, use the search bar within the Photos app.
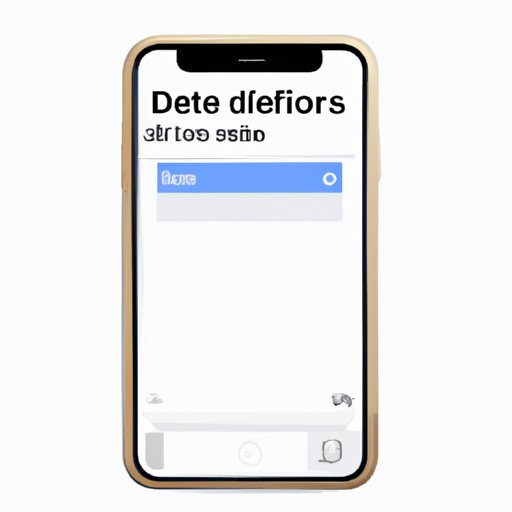
Here’s a screenshot of the process so that you can follow along:

As a best practice, we recommend backing up your photos first before deleting them permanently. This ensures that you don’t lose any memories you may want to keep. Additionally, when deleting photos, you can select the “Recently Deleted” album to recover any photos accidentally deleted within 30 days.
Third-Party Apps for Deleting Photos
If you’re looking for more advanced features to delete photos, third-party apps could be the solution. Let’s discuss a few popular options.
Clean My Phone
Clean My Phone is an all-in-one app that helps you clean up your iPhone to free up space. Its features include junk and temporary file cleaning, duplicate photo detection, photo compression, and photo deletion. You can use Clean My Phone to delete one photo or entire albums. Here’s how to use it:
1. Download Clean My Phone from the App Store.
2. Launch the app and tap on the “Photo Cleaner” option.
3. Select the photos you want to delete, then tap the delete icon.
4. Confirm the action by tapping “Delete X Photos.”
Gemini Photos
Gemini Photos sports an intuitive interface that is easy to use. Similar to Clean My Phone, it helps detect and delete duplicate photos, blurred photos, and screenshots. Gemini Photos is slightly more expensive than Clean My Phone but offers a broader range of cleaning features. Here’s how to use Gemini Photos to delete photos:
1. Download Gemini Photos from the App Store.
2. Open the app and give permission to access your iPhone’s photos.
3. Allow the app to scan for duplicates or other unwanted images.
4. Once scanned, select the photos you want to remove from your iPhone.
5. Tap on the trash can icon to delete the photos.
iCloud Feature for Deleting Photos
If you have an iCloud plan and use iCloud to back up your photos, you can delete photos directly from there. Here’s how:
1. Open the Photos app on your iPhone.
2. Go to the “Photos” tab located at the bottom of the screen.
3. Select the photos and/or albums you want to remove.
4. Tap on the “Delete” option.
5. In the pop-up window, choose “Remove from iPhone” to permanently delete them.
Note that deleting photos from iCloud only works if you’ve enabled the “iCloud Photos” option on your iPhone.
Integrating Google Photos with iPhone to Delete Photos
Google Photos is a free app that can be used to delete photos from the iPhone, as well as back up and sync them. Here’s how to use Google Photos to delete photos:
1. Download Google Photos from the App Store.
2. Open the app and sign in using your Google account.
3. Allow the app to access your photos.
4. Select the photos you want to delete.
5. Tap on the trash can icon and confirm the action.
Note that Google Photos may compress your photos to save storage space. If you don’t want to use the compression feature, you can opt for the “Originals” setting, but that will use up some of your Google Drive storage.
Using iTunes to Delete Photos
iTunes can be utilized to wipe photos from an iPhone, and here’s how:
1. Connect your iPhone to your computer via USB cable.
2. Open iTunes on your computer.
3. Select your iPhone from the device list.
4. Click on the “Photos” tab.
5. Deselect the folders or albums you want to delete.
6. Finally, click the “Apply” button to save any changes made.
Note that photo syncing only works when syncing via iTunes from a computer, and not through Wi-Fi sync.
Using a Computer to Delete Photos
Another alternative is to transfer photos to your computer before deleting them. This option provides more storage and is a safer way to keep all your memories safe. Here’s how to transfer photos from your iPhone to your computer:
1. Connect your iPhone to the computer using a USB cable.
2. Open the Photos app on your computer (Windows or Mac).
3. Select the photos you want to transfer.
4. Drag and drop the selected photos to the desired folder.
After transferring the photos, you can delete them from your iPhone manually or use iTunes.
Contacting Apple Support for Assistance
If you encounter any difficulties or unforeseen problems, you can always reach out to Apple’s Support staff for help. Here’s how to contact Apple Support:
1. Launch the Apple Support app on your iPhone.
2. Tap “Get Support.”
3. Search for your topic or issue.
4. Choose to speak with an Apple representative over the phone, via a chatroom, or email.
Conclusion
Deleting photos from your iPhone is crucial to manage storage space effectively. This guide outlines various methods you can follow to delete photos from your iPhone, including third-party apps, iCloud, Google Photos, iTunes, and a computer. When deleting photos, be sure to back them up before removing them permanently and use Recently Deleted folder to recover any accidental deletions. With the step-by-step instructions provided in this article, you can take control of your iPhone’s photo management swiftly.