Introduction
Plexiglass, also known as acrylic glass, is a versatile and durable material that can be used for a variety of DIY projects, such as picture frames, lamps, and custom signs. However, cutting plexiglass can be intimidating, and if not done correctly, it can result in shattered or jagged edges. That’s why it’s essential to learn how to cut plexiglass using the right methods and tools to achieve the best possible results.
Step-by-Step Guide
Before you start cutting plexiglass, you will need the right tools and materials, including a plexiglass sheet, a cutting tool, and safety gear. The type of cutting tool you use will depend on the thickness of the plexiglass.
For thin sheets of plexiglass, a jigsaw or a circular saw with a carbide blade is ideal, while for thicker sheets, a handsaw or a table saw is more suitable. It’s also essential to wear protective eyewear, gloves, and a face mask or respirator to prevent accidental injuries.
Once you have your tools and safety gear, you can use the following step-by-step instructions to cut plexiglass:
- Measure and mark the plexiglass where you want to cut.
- Sandwich the plexiglass between two sacrificial boards to prevent chipping and cracking.
- Secure the plexiglass and the sacrificial boards using clamps, making sure not to over-tighten the clamps to avoid warping or bending the plexiglass.
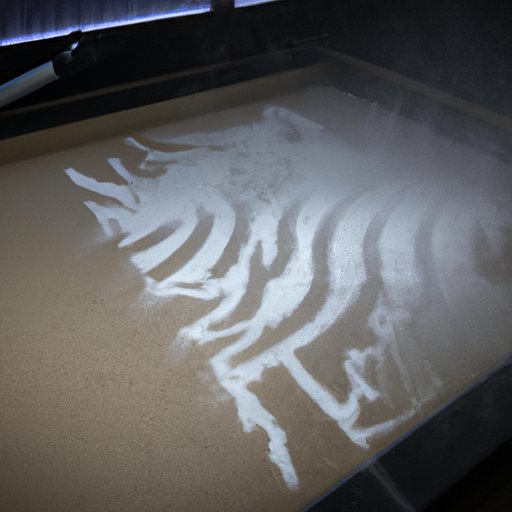
- For a jigsaw or a circular saw, use a carbide blade and set the saw to a low speed to prevent melting the plexiglass. Cut along the marked line, making sure to apply even pressure and keep the blade perpendicular to the plexiglass.
- For a handsaw or a table saw, use a fine-tooth blade and set the saw to a low speed to prevent melting the plexiglass. Cut along the marked line, making sure to apply even pressure and keep the blade perpendicular to the plexiglass.
- Remove the clamps and the sacrificial boards and sand the cut edges with a fine-grit sandpaper to smooth out any rough spots.
Remember to follow safety protocols when using any cutting tool, including always wearing protective gear, clamping the plexiglass securely, and using a sharp blade to prevent chipping or cracking the material.
Tips and Tricks
If you’re looking for more advanced techniques for cutting plexiglass, you can try using a laser cutter or a hot wire foam cutter. However, these methods require more specialized equipment, and they may not be suitable for all DIY enthusiasts.
A laser cutter uses a high-powered laser to cut through the plexiglass with extreme precision. It’s ideal for complex designs and patterns, but it also requires a well-ventilated area and a powerful exhaust system to remove the fumes and smoke produced by the laser.
A hot wire foam cutter uses a hot wire to melt through the plexiglass. It’s ideal for intricate shapes and curves, but it also requires a steady hand and a lot of practice to achieve accurate cuts. It’s also important to wear protective gear and work in a well-ventilated area to avoid inhaling the fumes produced by the melted plexiglass.
Always follow safety guidelines when working with advanced cutting methods, and avoid using any techniques that are beyond your skill level.
Video Tutorial
If you prefer visual learning, you can check out this helpful video tutorial on cutting plexiglass:
https://www.youtube.com/watch?v=w4AH8c-lvy0
Remember to follow the safety protocols outlined in this article when attempting any of the methods demonstrated in the video.
DIY Projects
Now that you know how to cut plexiglass, you can try your hand at a few simple DIY projects that will showcase your new skills. Here are some ideas:
- Plexiglass picture frame: Cut two pieces of plexiglass to the desired size and sandwich your picture between them. Secure the edges with small clamps or clips and display your creation.
- Plexiglass lampshade: Cut a few strips of plexiglass and assemble them into a geometric shape. Glue the edges together, and attach the lamp fitting and bulb to the inside.
- Plexiglass custom sign: Cut a piece of plexiglass to the desired shape and size and use vinyl letters or hand-painting to create your custom message. Attach the sign to the wall with screws or adhesive.
Make sure to follow the cutting techniques outlined in this article and to wear safety gear when working on these projects.
Common Mistakes
When cutting plexiglass, there are a few common mistakes that you should avoid. These include:
- Using a dull blade that can result in jagged edges.
- Not clamping the plexiglass securely, which can cause it to move or warp during cutting.
- Using a blade with too few teeth, which can cause the plexiglass to melt or chip.
If you encounter any of these mistakes, stop cutting immediately and troubleshoot the issue before continuing. Always remember to use quality tools and to take your time to achieve the best possible results.
Safety Tips
Working with plexiglass can be dangerous, especially if proper safety precautions are not taken. Here are some safety tips to keep in mind:
- Always wear protective eyewear, gloves, and a face mask or respirator to prevent injuries from flying debris and fumes.
- Use clamps or a vise to secure the plexiglass firmly before cutting, and avoid over-tightening to prevent warping or bending the material.
- Work in a well-ventilated area to avoid inhaling the fumes produced by the cutting tool.
- Dispose of any scraps or remnants safely, as plexiglass can pose a safety hazard if not disposed of properly.
Remember to follow these safety tips to ensure a smooth and safe cutting experience.
Conclusion
Cutting plexiglass can be a daunting task for DIY enthusiasts, but with the right tools, techniques, and safety protocols, it can be accomplished with ease. In this article, we have provided a step-by-step guide on cutting plexiglass, along with safety tips, tips and tricks, common mistakes to avoid, and a few simple DIY projects to get you started.
Always remember to prioritize safety when working with plexiglass, and to take your time to achieve the best possible results.