I. Introduction
Crown molding is a popular way to add character and elegance to any room in your house. It’s a stylish way to hide the junctions between your walls and the ceiling, providing a more polished and finished look to the room. Learning how to cut crown molding correctly is essential to getting the perfect fit and look. In this guide, we will explore different techniques, tools, and tips to help make your crown molding project a success.
II. The Beginner’s Guide to Cutting Crown Molding: A Step-by-Step Tutorial
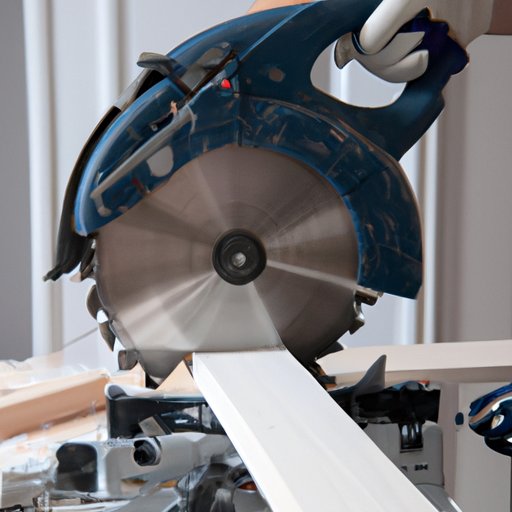
The first step to cutting crown molding is to measure the area where you need to install it accurately. Measure twice if needed to ensure that your measurements are precise. Once you have your measurements, you can proceed to cut the crown molding with a miter saw. A miter saw is a versatile and essential tool to cut crown molding. Here are the steps:
- Set your saw at a 45-degree angle
- Place the crown molding upside down on the saw bed
- Adjust the saw to the appropriate angle for your cut
- Make your cut
Repeat the process for all your crown molding pieces, ensuring they’re all cut at the same angles.
III. Crown Molding Cutting Techniques for Tricky Angles
It can be challenging to cut crown molding for angled ceilings and uneven walls, but it’s not impossible. Here are some tips to help you:
- For angled ceilings, you will need to find the spring angle, which is the angle of the crown molding’s sloped edge. You can use a digital protractor to measure the angle so that your cuts are accurate.
- If you’re dealing with uneven walls, create a template for each wall to guide your cuts. Hold a piece of cardboard against the wall and mark where the molding will go. Transfer the measurements to your crown molding pieces and cut them accordingly.
- Use a coping saw or coping machine to cut the molding’s odd-shaped ends according to the wall’s profile. Coping allows you to have a snug fit at the joint, making it look professional and seamless.
IV. Tools You Need for Cutting Crown Molding: A Comprehensive List
Cutting crown molding will require having specific tools. Here’s a list of tools needed:
- Miter saw
- Protractor
- Circular saw
- Nail gun or hammer
- Fine-tooth saw blades
- Coping saw or coping machine
If you don’t have the tools, you can look for places to rent or purchase them. Most home improvement stores offer tools for rent and purchase.
V. Avoiding Common Crown Molding Cutting Mistakes
Here are the most common mistakes people make when cutting crown molding:
- Mis-measurements: Make sure to double-check your measurements before cutting.
- Incorrect saw blade: Using the wrong blade can result in a rough or uneven cut. Use fine-tooth saw blades for clean cuts.
- Improper angle cutting: Ensure that your saw is set at the right angle for your cut. An incorrect angle can result in your pieces not fitting correctly.
- Not coping ends: Coping is essential to guarantee a seamless joint between two pieces.
By avoiding these common mistakes, you can achieve a professional-looking crown molding installation.
VI. DIY Crown Molding Cutting: Is It Worth the Effort?
DIY crown molding projects are perfect for homeowners who enjoy working on home improvement projects. It’s also an excellent way to save on installation costs. However, cutting crown molding can be a time-consuming and precise process, making hiring a professional the right decision for some. Here are some tips for those who decide to take a DIY approach:
- Make sure you have the required tools for the project.
- Always double-check your measurements.
- Take your time when cutting. Precision is essential.
- Use a combination of the miter saw and the coping technique for the best results.
If the project is too daunting, hiring a professional might be the best course of action. A professional has the experience and tools needed to cut and install crown molding correctly and in less time than a DIY approach.
VII. Conclusion
Now that you know the different techniques, tools, and tips to cut crown molding, you can confidently take on your crown molding project. Ensure that you have the required tools and always double-check your measurements for the best results. By avoiding common mistakes and using the right techniques and tools, you can have a professional-looking and finished product.