Crochet 101: The Granny Square
Crochet is an enjoyable and rewarding hobby. One of the most popular crochet projects is the granny square. It is a simple pattern that can be used to create a wide range of items, including blankets, scarves, hats, and more. This article will teach you how to crochet a granny square, from the materials you will need to step-by-step instructions.
What is a Granny Square?
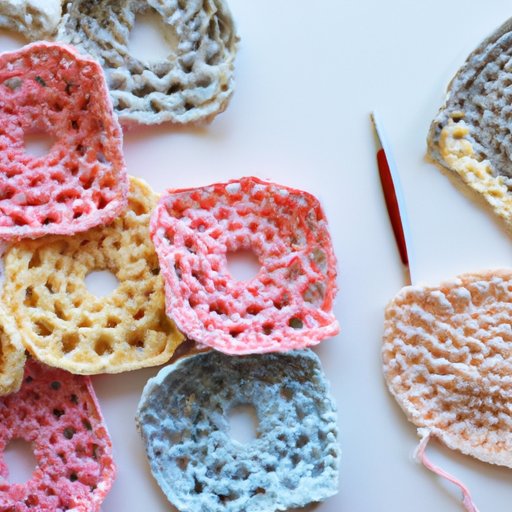
The granny square is a basic shape in crochet that starts with a small circle and grows outwards to form a square. It is typically made up of several rounds, each separated by a chain stitch. The name “granny” refers to the traditional and timeless appearance of the pattern.
Step-by-step Instructions on How to Crochet a Granny Square
Before we start, let’s gather the materials you will need – yarn, a crochet hook, and scissors. Choose your yarn color and thickness based on the type of project you want to make and the look you are going for.
Step 1: Make a slip knot and chain 4.
Step 2: Slip stitch into the first chain and tighten the knot.
Step 3: Chain 3, which will count as your first double crochet stitch.
Step 4: Work two double crochet stitches into the center of the ring, then chain 2. Repeat this sequence two more times, so you have four groups of three double crochet stitches separated by a chain 2 space.
Step 5: Slip stitch into the top of the starting chain 3 to close the round. Do not cut the yarn.
Step 6: Begin the second round by chaining 3, which counts as your first double crochet.
Step 7: Work two more double crochet stitches in the first chain 2 space. Then chain 1, and work three double crochet stitches in the next chain 2 space. Repeat this sequence until you complete the round.
Step 8: Slip stitch into the top of the starting chain 3 to close the round. Do not cut the yarn.
Step 9: Repeat round 2, remembering to chain 2 at each corner of the square. Continue working your pattern in this way, making each round slightly larger than the previous one by adding an extra group of double crochet stitches to each side of the square.
Step 10: Once you have completed your last round, finish off by cutting the yarn and weaving the end through the final stitch.
Tips for Creating a Perfect Granny Square
Creating a perfect granny square starts with proper tension. Keep your stitches loose enough for your hook to slide through easily, but not so loose that the square becomes floppy. Another tip is to make sure your corner spaces are the same size. This will ensure that your square is even and symmetrical. Lastly, weave in loose ends as you go to avoid a lot of bulk on the back of your square.
Tips on Using Granny Squares to Create Various Patterns
Granny squares can be used to create a wide range of items. You can make a blanket by joining squares together, or turn them into coasters, pillows, or even clothing. Use a variety of colors to create interest, or keep it simple with one or two colors. Whatever you choose, your granny squares will always look lovely and timeless.
Conclusion
Now that you know how to crochet a granny square, the possibilities are endless. Whether you are a beginner or an experienced crocheter, the granny square is a classic pattern that is versatile and fun to make.