Introduction
Contouring is a makeup technique that uses light and dark shades to sculpt your face, giving you a more defined and chiseled look. While contouring was once reserved for professional makeup artists and celebrities, it has become a popular trend in the beauty community that anyone can learn to do at home. In this article, we’ll share tips, tricks, and step-by-step instructions to help you master the art of contouring.
Contouring 101: A Beginner’s Guide to Sculpting Your Cheeks and Jawline
First things first, let’s cover the basics. The most common areas to contour are your cheeks and jawline.
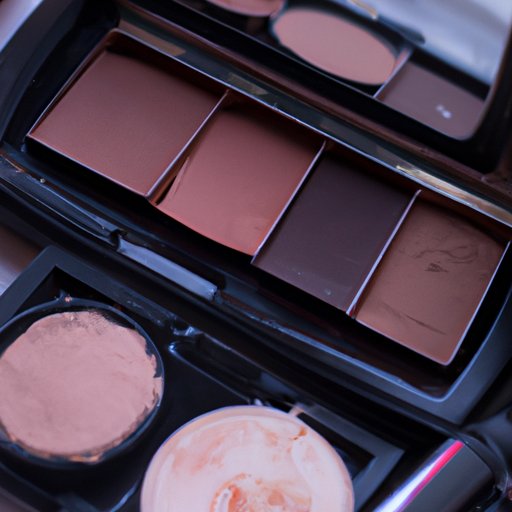
For beginners, we recommend starting with a powder contour kit. A contour kit usually contains a contour shade, a highlight shade, and a blush shade.
Here’s how to apply it:
- Start by applying foundation and concealer as you normally would.
- Take a small, angled brush and dip it into the contour shade. Lightly tap off any excess powder.
- Suck in your cheeks to find the hollows of your cheeks, then apply the contour shade just below the cheekbones. Use a light hand and blend the powder outwards towards your hairline.
- Next, apply the contour shade along your jawline to create definition.
- Finally, take the highlight shade and apply it to the tops of your cheekbones, down the bridge of your nose, and in the center of your forehead. Blend it out with a fluffy brush.
The Do’s and Don’ts of Face Contouring: Secrets to a Natural, Glowing Look
While contouring can give you a beautiful, sculpted look, there are a few common mistakes to avoid.
Do:
- Start with a light hand and build up the intensity gradually.
- Blend, blend, blend! Use a fluffy brush and blend out the contour shade so it looks natural.
- Choose a contour shade that is only a few shades darker than your skin tone. You want to create shadows, not stripes.
Don’t:
- Use too much product. A little goes a long way with contouring.
- Use the wrong shade. Using a contour shade that is too dark or too warm toned can look muddy and unnatural.
- Forget to blend out your contour. Unblended stripes of contour can look harsh and unflattering.
Expert Tips for Perfecting Your Contour Technique
If you’re looking to take your contouring to the next level, try these tips from professional makeup artists:
- Use multiple shades of contour to create depth and dimension.
- Apply your contour in a 3-shape (starting at the forehead and moving down to the cheekbone and then the jawline) for a more natural look.
- Use cream contour products for a more intense and dramatic effect.
10 Contouring Products to Try for a Chiseled Look
There are a variety of contour products available, including powders, creams, and sticks. Here are some of our top recommendations:
- MAC Cosmetics Studio Fix Sculpt and Shape Contour Palette
- Fenty Beauty Match Stix Matte Skinstick
- Anastasia Beverly Hills Powder Contour Kit
- Nyx Professional Makeup Wonder Stick
- Kevyn Aucoin The Contour Book Volume II
- Milk Makeup Matte Bronzer
- Huda Beauty Tantour Contour and Bronzer Cream
- Kat Von D Beauty Shade + Light Face Contour Refillable Palette
- Too Faced Cocoa Contour Palette
- Tarte Cosmetics Park Ave Princess Chisel Palette
Contouring Hacks for Every Face Shape
Not all face shapes are created equal, and different face shapes require different contouring techniques. Here’s how to contour for your specific face shape:
Round Face
Apply contour along the temples, under the cheekbones, and along the jawline. Blend well to create a more angular look.
Square Face
Apply contour along the hairline, under the cheekbones, and along the jawline. Focus on blending the contour shade downwards towards your neck to create a softer look.
Heart Face
Apply contour along the temples and under the cheekbones, then blend well. Apply highlighter to the center of the forehead and the chin to balance out the face.
Oval Face
You can contour the same way you would for a round or square face, but it’s not necessary. An oval face shape is already well-balanced, so focus on lightly highlighting the high points of your face.
Achieving a Flawless Contour in 5 Easy Steps
If you’re looking for a simplified version of the basic contouring technique, try these 5 easy steps:
- Apply foundation and concealer as usual.
- Suck in your cheeks and apply a small amount of contour powder just below the cheekbones and along the jawline.
- Blend out the contour powder with a fluffy brush.
- Apply a small amount of highlighter to the tops of your cheekbones, down the bridge of your nose, and in the center of your forehead.
- Blend out the highlighter with a fluffy brush.
Contouring for Men: How to Create a Masculine, Defined Look
Men can also benefit from contouring to enhance their facial features. Here’s how to do it:
- Choose a contour shade that is only one or two shades darker than your skin tone.
- Apply contour along the jawline, under the cheekbones, and along the sides of the nose if desired.
- Blend out the contour with a fluffy brush.
- Avoid using highlighter or any shimmery products.
Conclusion
Contouring can seem overwhelming at first, but with practice and the right techniques, anyone can master it. Remember to start with a light hand and gradually build up, and always blend well. With the right contour products and tools, you can enhance your natural features and create a more defined look.
So, what are you waiting for? Grab your contour kit and start sculpting your cheekbones and jawline.