Introduction
Do you ever see those flawless looking faces on social media and wonder how they achieve that look? It’s all in the contouring! Contouring your face can enhance your natural features and give you that defined look that we all strive for. In this article, we will be providing a step-by-step guide to contouring your face using various products and techniques, exploring different types of contouring products available in the market, and discussing the common mistakes to avoid. By the end of this article, you will be well on your way to achieving that flawless, contoured look.
What is contouring and why is it important?
Contouring is a makeup technique where you use products to add darkness and lightness to your face to create a more defined look. It is important because it can help enhance your natural features and give you more confidence in your appearance.
Using contouring, you can give the illusion of higher cheekbones, a slimmer nose, and a more defined jawline. Contouring can even make your face look more symmetrical. It is also a great technique to use for photoshoots and special events where you want to look your absolute best.
Step-by-Step Guide to Contouring
To contour your face, you will need various products such as foundation, contouring powder, highlighter, and a blending brush. Here is a step-by-step guide to help you contour your face:
- Cleanse your face and apply your regular foundation that matches your skin tone.
- Identify your face shape. There are five different face shapes: round, oval, square, heart, and diamond. Understanding your face shape will help you determine where to apply contour and highlight.
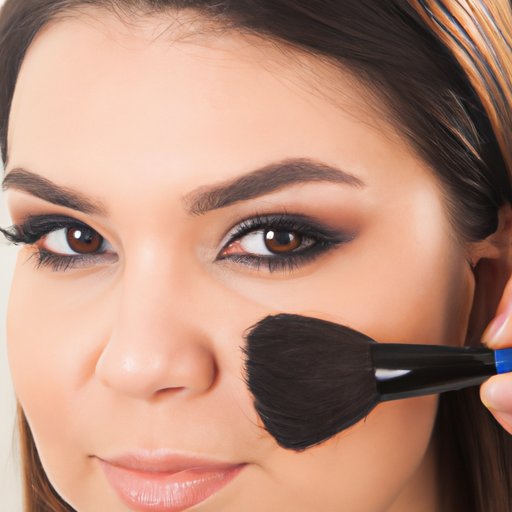
- Apply the contouring powder in the hollows of your cheekbones, along the sides of your nose, and under your jawline. These areas are where you want to create shadows to define your features.
- Apply the highlighter on the high points of your face such as your cheekbones, forehead, nose, chin, and above the arches of your eyebrows.
- Blend the contour and highlighter with a blending brush to create a seamless, natural finish.
- You can also add blush to the apples of your cheeks for a pop of color and a more natural look.
Exploring Different Contouring Products
There are different types of contouring products available in the market such as powders, creams, and sticks. Some of the best contouring products are listed below:
- Powders: Powders are great for beginners as they are easy to work with and perfect for a natural finish. They are also the most versatile as they come in different shades and formulas to suit different skin types.
- Creams: Creams are great for dry skin as they provide a dewy, moisturizing finish. They are also more pigmented than powders, giving a more intense look.
- Sticks: Sticks are perfect for those who are always on the go as they are easy to apply and carry. They are also great for oily skin as they provide a matte finish.
To choose the right contouring product for your skin tone, look for shades that are one or two shades darker than your skin tone. The products should blend seamlessly with your foundation. Also, consider your skin type when choosing contouring products. Powders are best for oily skin, creams are best for dry skin, and sticks are good for all skin types.
Common Contouring Mistakes to Avoid
Contouring can be easy to mess up, especially if you are a beginner. Here are some common contouring mistakes to avoid:
- Using the wrong shade: Using a shade that is too light or too dark can look unnatural and unflattering.
- Overdoing it: Applying too much contour or highlight can create a harsh, overdone look.
- Not blending: Blending is the key to a natural, flawless contour. Not blending can create harsh lines and an unblended look.
- Using the wrong products: Using the wrong type of product for your skin type can create a cakey, unflattering look.
- Not considering your face shape: Understanding your face shape is crucial for applying contour in the right places. Contouring in the wrong areas can make your face look unbalanced.
To avoid making these mistakes, always start with a little product and build it up slowly to achieve the perfect look. Use a light hand and blend, blend, blend!
DIY Approach to Contouring
If you don’t want to invest in expensive contouring products, you can use everyday items such as eyeshadow to contour your face. Here is how:
- Choose an eyeshadow that is one or two shades darker than your skin tone.
- Apply the eyeshadow along the hollows of your cheekbones, the sides of your nose, and under your jawline.
- Blend the eyeshadow with a blending brush to create a natural finish.
- Add a highlighter to the high points of your face to complete the look.
Selecting the Right Shades of Contour
Choosing the right shades of contour is crucial in achieving a natural, defined look. Here are some tips for selecting the right shades of contour:
- Consider your skin tone: Darker skin tones can use deeper shades of contour, while lighter skin tones should opt for lighter shades.
- Consider the type of contouring product: Powders tend to appear lighter on the skin than creams and sticks. Take this into account when choosing the shade.
- Test it out: Always test the shades in natural light. This will give you a better idea of how it will appear on your skin.
For most skin tones, a neutral taupe color works best. This color complements all skin tones and provides a natural, subtle finish.
Contouring Based on Face Shapes
There are five different face shapes and each requires a different contouring technique to create a more defined look.
Here are the best techniques for each face shape:
- Round: Apply contour along the hairline, under the cheekbones, and the sides of the jawline to create angles and definition.
- Oval: Apply contour along the lower half of the cheekbones, the tip of the forehead, and the jawline to define and narrow the face.
- Square: Apply contour along the hairline, under the cheekbones, and the jawline to soften the angles and create a more oval shape.
- Heart: Apply contour under the cheekbones, jawline, and along the hairline to balance the face.
- Diamond: Apply contour along the temples, under the cheekbones, and the chin to bring balance to the face.
Conclusion
Contouring is a great technique for enhancing your natural features. By using the right products, techniques, and shades, you can achieve a natural, defined look that will give you more confidence in your appearance. Remember to always start with a light hand and blend, blend, blend to avoid any mistakes. By following the step-by-step guide and tips provided in this article, you will be well on your way to achieving that flawless, contoured look.