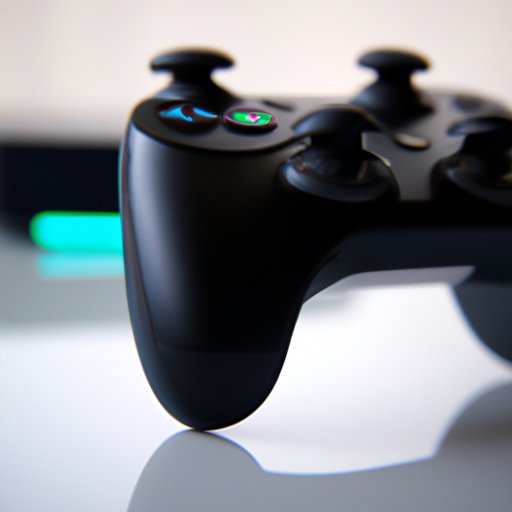
How to Connect an Xbox Controller to PC: A Step-by-Step Guide
If you’re an avid gamer looking to experience Xbox games on your PC, connecting an Xbox controller to your PC is an essential step. In this article, we will provide you with a step-by-step guide on how to connect an Xbox controller to your PC. Whether you’re a beginner or an experienced gamer, this guide will help you solve any problems you might have when trying to connect your controller.
Step-by-Step Guide
The easiest and most commonly used method of connecting an Xbox controller to a PC is through Bluetooth. Here is how you can connect your controller:
Step 1: Make sure your PC has Bluetooth connectivity
Before trying to connect your Xbox controller to your PC, ensure that your PC has Bluetooth built-in or that you have a Bluetooth USB dongle connected to your PC.
Step 2: Turn on your Xbox controller
Hold down the Xbox button on your controller and wait for the light on the button to start flashing.
Step 3: Activate the PC’s Bluetooth discovery mode
To activate the PC’s Bluetooth discovery mode, open the Start menu and click on “Settings.” Find the “Devices” option and then click on “Bluetooth & other devices.” Toggle the “Bluetooth” switch to turn it on.
Step 4: Add your Xbox controller to the Bluetooth list
Click on “Add Bluetooth or other device” located at the top of the “Bluetooth & other devices” screen. Once you’ve clicked on it, select “Bluetooth” from the list of offered options.
Step 5: Connect the controller
Find your Xbox controller on the list of available devices and click on it to connect. If your controller still does not connect, try turning it off and then back on or restarting your PC.
Once you have followed the above steps, you should be able to use your Xbox controller to play games on your PC.
Video Tutorial
If you prefer a more visual way to guide yourself through the process of connecting an Xbox controller to your PC, check out our video tutorial for a clearer picture of the whole procedure.
Windows Settings
If your PC is running Windows 10, your PC is likely already equipped with all the necessary drivers to connect an Xbox controller without additional software. Here’s how to set it up:
Step 1: Turn on the Xbox controller and the Bluetooth feature of your PC
Step 2: Open the Windows Settings App
The Windows Settings App is located in the Start menu and looks like a little gear.
Step 3: Connect using Bluetooth settings
Click on “Devices” and then select “Bluetooth & other devices.” Press “Add Bluetooth or other device” at the top of the window. Choose “Bluetooth” and select your controller from the list of discoverable devices.
Xbox Accessories App
If you want to customize your controller settings, such as the sensitivity of the triggers, enable remapping of the buttons, or configure the controller’s LED display, you can use the Xbox Accessories app. Here’s how to set it up and use it:
Step 1: Install the Xbox Accessories app
First, open the Microsoft Store app. Search for the Xbox Accessories app and click “Get” to install it.
Step 2: Pair your Xbox controller with your PC
Step 3: Open the Xbox Accessories app and customize your controller
Once the Xbox controller is paired with the PC, open the Xbox Accessories app and customize your controller as you desire.
Wireless Receiver
If your PC does not have Bluetooth connectivity, you can use a wireless receiver to connect your Xbox controller to your computer. Here’s how:
Step 1: Purchase a wireless receiver
You can purchase a wireless receiver on Amazon or other online marketplaces.
Step 2: Install the driver software or use default drivers
Once you have connected the wireless receiver to your PC, you will either need to install the driver software on your PC or use the “plug and play” drivers that come with the receiver.
Step 3: Turn on your Xbox controller
Hold down the Xbox button on your controller and wait for the light on the button to start flashing.
Step 4: Press the button on the wireless receiver
Press the button located on your wireless receiver to pair it with your Xbox controller.
USB Cable
If you prefer using a wired connection, you can always connect your Xbox controller to your PC through USB. Here’s how:
Step 1: Use a micro-USB cable to connect your controller to your PC
Step 2: Wait for your controller to install its drivers
Your PC will automatically install the necessary drivers for the Xbox controller when it is connected via USB.
Step 3: Start gaming
Once your controller is connected, you are ready to start playing your favorite Xbox games on your PC.
Troubleshooting
It’s common for some users to experience trouble when connecting their Xbox controllers to their PCs. Here are some of the most common issues and how to fix them:
Issue 1: The Xbox controller is not recognized by the PC
Solution: Restart both the PC and the controller, and try connecting again.
Issue 2: Poor connectivity
Solution: Move closer to the PC or try clearing out any wireless interference between the PC and the controller.
Issue 3: Disconnecting frequently
Solution: Replace batteries or check the charging cable.
Conclusion
Connecting an Xbox controller to your PC is not as difficult as it may seem. With this guide, you can quickly and easily connect your controller using different methods. If you have any problems connecting, be sure to try the troubleshooting tips mentioned in this article. Now that you know how to connect your Xbox controller to your PC, you can enjoy your favorite Xbox games from the comfort of your PC.