Introduction
As makeup enthusiasts, we all know the struggle of cleaning our makeup sponges. The build-up of makeup products, oils, and bacteria can lead to skin irritations and breakouts. Cleaning our makeup sponges is not only important for our skin’s health but also for the longevity and effectiveness of our sponges. In this article, we have compiled the ultimate guide on how to clean makeup sponges, providing step-by-step tutorials, DIY solutions, and expert tips.
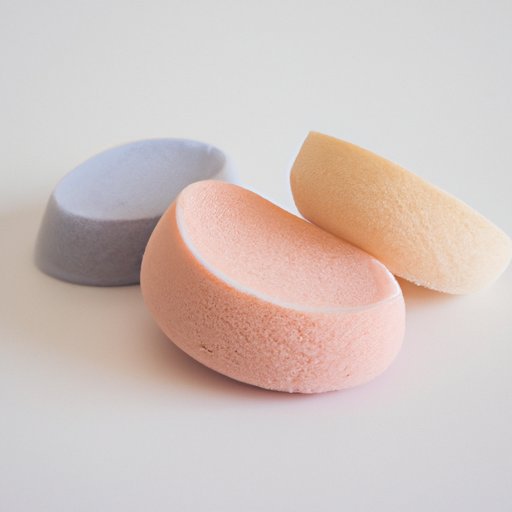
The Ultimate Guide to Clean Makeup Sponges: Step-by-Step Tutorial
Before we dive into the various ways to clean our makeup sponges, let’s first discuss the materials needed. We will need:
- Dirty makeup sponges
- Bowl or cup
- Mild soap or shampoo
- Olive oil or coconut oil
- Clean water
Here are the steps to follow:
- Fill a bowl or cup with warm water and add a teaspoon of mild soap or shampoo.
- Soak the makeup sponge in the mixture for a few minutes.
- Gently massage the sponge to remove any build-up of makeup.
- For stubborn stains, mix olive oil or coconut oil with the soap mixture and repeat the above step.
- Rinse the sponge thoroughly with clean water until the water runs clear.
- Squeeze out the excess water and air dry the sponge on a clean towel or paper towel. Avoid direct sunlight or using a hairdryer to dry the sponge.
It’s important to note that cleaning our makeup sponges should be a part of our regular makeup routine. We recommend cleaning our sponges once a week to prevent bacteria build-up and keep our skin clean and healthy.
5 DIY Solutions for Cleaning Makeup Sponges with Household Ingredients
If you don’t have mild soap or shampoo, there are other ways to clean your makeup sponges using household ingredients. Here are five DIY solutions:
- Baby shampoo: Mix a few drops of baby shampoo with warm water, soak the sponge, and follow the same steps as above.
- Vinegar: Mix equal parts water and vinegar, soak the sponge, and rinse thoroughly with clean water.
- Baking Soda: Mix a teaspoon of baking soda with warm water, soak the sponge, and rinse thoroughly with clean water.
- Coffee: Brew a cup of coffee, soak the sponge in the coffee for a few minutes, and rinse thoroughly with clean water.
- Dish Soap: Mix a few drops of dish soap with warm water, soak the sponge, and rinse thoroughly with clean water.
DIY solutions are not only convenient but also cost-effective and eco-friendly. They help reduce waste and save money while still keeping our makeup sponges clean and bacteria-free.
Why Cleaning Your Makeup Sponges is Crucial for Your Skin and Health
The consequences of using dirty makeup sponges can range from skin irritations and acne breakouts to serious skin infections. Bacteria, oil, and dirt can accumulate in our sponges, creating a breeding ground for germs. The longer we keep using our dirty sponges, the higher the risks of skin problems. Regularly cleaning our makeup sponges is crucial for maintaining the health and beauty of our skin.
In addition to regular cleaning, replacing our sponges every three months is also important. Over time, the sponge material deteriorates, and the effectiveness of the sponge decreases. By regularly replacing our makeup sponges, we can ensure that we are getting the best possible results every time we apply makeup.
Master the Art of Cleaning Makeup Sponges: Tips and Tricks from Makeup Experts
To get the most out of our cleaning process, it’s essential to follow some expert tips:
- Use a gentle soap or shampoo and avoid harsh chemicals.
- Be thorough and patient. Take the time to massage the sponge and remove any build-up of makeup.
- Dry the sponge in a well-ventilated area to prevent bacteria growth.
- Avoid using hot water, as it can damage the sponge material and decrease its effectiveness.
- Store your sponges in a clean and dry place to prevent bacteria growth and keep them fresh.
By following these expert tips, we can extend the life of our makeup sponges and ensure our skin remains healthy and beautiful.
How to Clean Makeup Sponges: The Dos and Don’ts
Here are some easy-to-follow dos and don’ts for cleaning makeup sponges:
- Do: Use a gentle soap or shampoo. Harsh chemicals can damage the sponge material and cause skin irritations.
- Do: Be patient and thorough. Take the time to massage the sponge and remove any build-up of makeup.
- Do: Replace your sponges regularly. Old sponges can harbor bacteria and decrease the effectiveness of your makeup application.
- Don’t: Use hot water. Hot water can damage the sponge material and decrease its effectiveness.
- Don’t: Use bleach or fabric softener. These harsh chemicals can damage the sponge material and cause skin irritations.
By following these simple dos and don’ts, we can ensure that our makeup sponges stay clean and bacteria-free.
Eco-Friendly Ways to Clean Your Makeup Sponges
Cleaning our makeup sponges doesn’t need to harm the environment. Here are some eco-friendly ways to clean our sponges:
- Reuse old t-shirts: Cut up old t-shirts and use them as a substitute for disposable wipes.
- Use biodegradable soap: Opt for biodegradable soap to reduce waste and pollution.
- Choose reusable products: Invest in reusable sponges or cleaning tools to reduce waste and save money in the long run.
These eco-friendly solutions not only help the planet but also benefit our skin by reducing our exposure to harsh chemicals and reducing waste.
Conclusion
Keeping our makeup sponges clean is crucial for maintaining healthy, beautiful skin. By regularly cleaning our sponges using the step-by-step tutorial, DIY solutions, expert tips, dos and don’ts, and eco-friendly methods, we can ensure that our sponges remain bacteria-free and effective. Remember to replace your sponges every three months, keep them in a clean and dry place, and follow expert advice to get the most out of your makeup sponges.