Introduction
Dryer vents are an essential component of any laundry room, but few homeowners take the time to clean them regularly. Over time, lint, dust, and other debris can build up in the dryer vent, leading to a range of problems, from increased energy bills to potential fire hazards. In this article, we’ll take a detailed look at how to clean your dryer vent, including step-by-step instructions, video tutorials, and other helpful tips.
Step-by-Step Guide
Before you get started, it’s important to assemble the necessary tools and materials. Here’s what you’ll need to clean your dryer vent:
- A screwdriver
- A vacuum or a brush
- A dryer vent cleaning kit
Once you have all the necessary tools, you’re ready to begin:
Disconnecting the Dryer Vent Hose
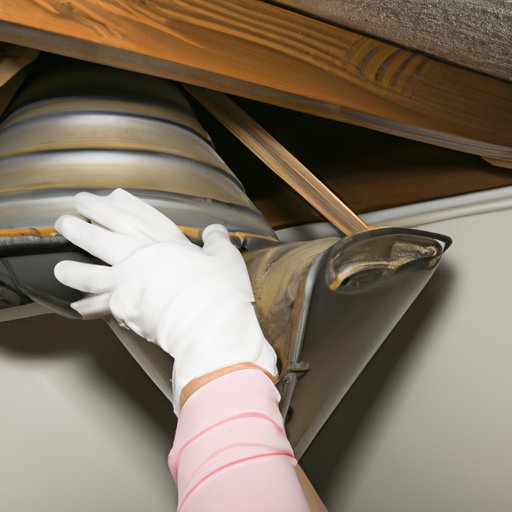
The first step in cleaning your dryer vent is to disconnect the vent hose from the back of the dryer. Depending on your model, you may need to use a screwdriver to loosen the clamp that holds the hose in place. Once the hose is free, pull it gently away from the dryer, being careful not to damage the vent or the hose itself.
Cleaning Techniques
With the hose disconnected, you can begin cleaning the dryer vent itself. There are several techniques you can use, depending on the tools you have available:
- Use a vacuum: If you have a vacuum with a long, flexible hose, you can use it to suck up any debris that’s accumulated in the vent. Hold the hose up to the vent opening and feed it in as far as it will go. Then, turn on the vacuum and slowly withdraw the hose, working your way along the length of the vent.
- Use a brush: If you don’t have a vacuum, you can use a specialized dryer vent cleaning brush to scrub the vent clean. Feed the brush into the vent opening and use a twisting motion to dislodge any debris that’s caught in the vent. Keep working the brush back and forth until no more debris comes out.
- Use both: For the most thorough cleaning, you can use a combination of a vacuum and a brush. First, use the brush to dislodge any debris that’s caught in the vent. Then, use the vacuum to suck up the debris and pull it out of the vent.
Reattaching the Dryer Vent Hose
After you’ve finished cleaning the dryer vent, it’s time to reattach the hose. Make sure you line up the hose with the vent opening and slide it back into place. Then, use a screwdriver to tighten the clamp that holds the hose in place. Finally, turn on your dryer and make sure it’s working properly.
Importance of Cleaning
Now that you know how to clean your dryer vent, it’s important to understand why regular cleaning is so important. Here are just a few of the potential problems you can avoid by keeping your dryer vent clean:
Potential Fire Hazards
Lint, dust, and other flammable debris can build up inside your dryer vent over time. If this debris comes into contact with a spark or a flame, it can ignite and start a fire. According to the National Fire Protection Association, dryers were involved in an estimated 13,820 home fires in 2010.
High Energy Bills
A clogged dryer vent can restrict airflow, causing your dryer to work harder and longer to dry your clothes. This can increase your energy bills and cause unnecessary wear and tear on your dryer.
Reduction of the Dryer’s Lifespan
Over time, a dirty dryer vent can cause your dryer to work harder than it needs to. This can put additional stress on your dryer’s components, potentially shortening its lifespan and leading to costly repairs or replacements.
Video Tutorial
If you’re a visual learner, you may find it helpful to watch a video tutorial that shows you how to clean your dryer vent step-by-step. Here’s a helpful video that walks you through the process:
Tips for Proper Cleaning
Here are a few additional tips to keep in mind as you clean your dryer vent:
- Always disconnect the dryer from the power source before cleaning the vent.
- Wear protective gloves and a mask to avoid inhaling dust or debris.
- Be gentle when cleaning the vent, as it can be easily damaged.
- Consider cleaning your dryer vent every six months to a year, depending on how often you use your dryer.
Infographic
For a quick reference guide to cleaning your dryer vent, check out this helpful infographic:

Common Mistakes to Avoid
When cleaning your dryer vent, it’s important to use the right tools and techniques to avoid damaging your dryer or the vent itself. Here are a few common mistakes to avoid:
- Using a regular vacuum to clean the vent, which can damage the vent or cause the vacuum to overheat.
- Using a leaf blower or compressed air to clean the vent, which can push debris further into the vent or damage the vent itself.
- Not cleaning the vent thoroughly enough, which can leave flammable debris inside the vent and increase the risk of a fire.
Professional Cleaning Services
If you’re not comfortable cleaning your dryer vent yourself, or if you have a particularly long or clogged vent, you may want to consider hiring a professional cleaning service. Here’s what you can expect from a professional dryer vent cleaning:
- A thorough cleaning of your dryer vent using specialized tools and techniques.
- A visual inspection of the vent to ensure it’s in good condition and free of any damage.
- A report on the condition of your dryer vent and any recommendations for future maintenance.
While professional dryer vent cleaning can be more expensive than doing it yourself, it can provide peace of mind and ensure that your dryer vent is as clean and safe as possible.
Conclusion
Cleaning your dryer vent may not be the most glamorous household chore, but it’s a vital one that can help you avoid potential fire hazards, reduce your energy bills, and keep your dryer running smoothly for years to come. By following the step-by-step guide, video tutorial, infographic, and other tips included in this article, you can ensure that your dryer vent stays clean and safe no matter what.