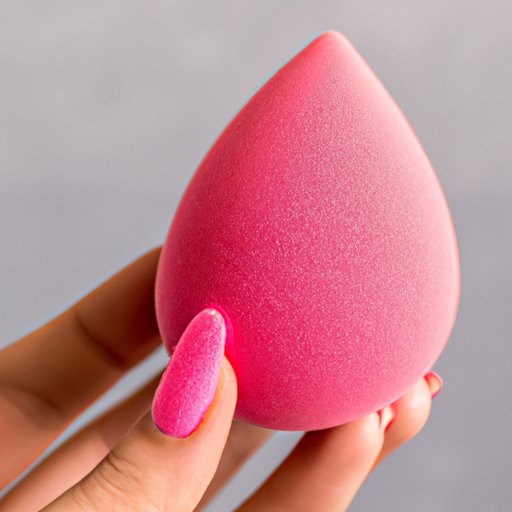
How to Clean a Beauty Blender: A Step-by-Step Guide
As a beauty enthusiast, you probably know that your beauty blender is an essential tool for achieving flawless-looking skin. However, did you know that failing to clean it properly can cause breakouts, irritations, and even infections? That’s why it’s important to learn how to clean your beauty blender correctly. In this article, we’ll provide you with a comprehensive step-by-step guide on how to clean your beauty blender, along with some best practices, creative methods, and product recommendations. Let’s get started.
Step-by-Step Guide
First things first, let’s gather everything you’ll need:
- Warm water
- Soap or liquid cleanser (preferably a mild, fragrance-free one)
- Beauty blender cleanser (optional)
- A clean towel or paper towel
Now, let’s dive into the cleaning process:
- Wet your beauty blender with warm water. Make sure to squeeze it gently to let the water soak in and expand the sponge.
- Apply a small amount of soap or liquid cleanser on the blender, or alternatively, use a beauty blender cleanser if you have one.
- Gently massage the sponge, focusing on the areas where there’s a lot of makeup residue.
- Rinse the blender thoroughly with warm water until the water runs clear.
- Gently squeeze the blender to remove any excess water.
- Place the blender on a clean towel or paper towel and let it air-dry completely before using it again.
Pro tip: avoid twisting or pulling the blender during the cleaning process to prevent it from tearing or losing its shape.
Best Practices
Now that you know the basic cleaning process, let’s take a closer look at some best practices to keep your beauty blender in top shape:
- Wash your beauty blender after every use. This will prevent bacteria buildup and ensure that the next application is flawless.
- Replace your beauty blender every 3-4 months, or earlier if you notice signs of wear and tear.
- Store your beauty blender in a clean, dry place to prevent it from collecting dust and debris. An ideal place would be a mesh bag or a ventilated container.
- Avoid sharing your beauty blender with others to minimize the risk of cross-contamination.
- Use a separate blender for powders and liquids to prevent color transfer or clogs.
Common mistakes to avoid include:
- Not cleaning your blender often enough or thoroughly enough.
- Using harsh soaps or detergents that can damage the sponge or cause skin irritation.
- Drying your beauty blender with a dryer or heater, which can shrink or melt the sponge.
- Storing the blender in a damp or humid place, which can cause mold growth.
- Using a dirty blender that can cause breakouts, infections, or other skin problems.
Creative Ways to Clean
If you want to try some unconventional ways of cleaning your beauty blender, here are some ideas:
- Use vinegar: Mix equal parts of warm water and white vinegar in a bowl, then soak your beauty blender for about 10 minutes. Rinse it thoroughly with warm water and let it dry.
- Use a microwave: Wet your beauty blender, then put it in a microwave-safe bowl filled with 1/4 cup of water and a few drops of soap. Microwave the bowl for 1 minute, then let it cool down before squeezing out the excess water and letting it dry.
- Use a dishwasher: Place your beauty blender in the utensil holder of your dishwasher and run it through a regular cycle (without any other dishes). Make sure to use a fragrance-free, gentle detergent.
However, keep in mind that these methods may not work for everyone and can potentially damage your beauty blender if not done correctly. Always read the instructions and do a patch test before trying out new methods.
Product Review
If you prefer to use a dedicated beauty blender cleaner, here are some of the top options available on the market:
- Beautyblender Liquid Blender Cleanser: a gentle, sulfate-free formula that effectively cleans and conditions your sponge.
- Real Techniques Deep Cleansing Gel for Sponge & Brush: an affordable and easy-to-use cleanser that removes even the toughest makeup residues.
- Cinema Secrets Makeup Brush Cleaner: a professional-grade cleaner that disinfects and sanitizes your beauty blender in seconds.
Each of these products has its own unique features and benefits, so depending on your skin type and personal preference, you can choose the one that suits you best.
Q&A
Here are some of the most common questions asked by beauty blender users:
- Q: Can I use my regular soap or shampoo to clean my beauty blender?
- Q: How often should I replace my beauty blender?
- Q: Can I reuse my beauty blender immediately after washing it?
- Q: Can I clean my beauty blender with oil-based makeup?
A: While you can technically use any soap or shampoo to clean your blender, it’s recommended to use mild, fragrance-free cleaners that won’t irritate your skin or damage the sponge.
A: It’s recommended to replace your beauty blender every 3-4 months, or whenever you notice signs of wear and tear, such as discoloration, tears, or bad odors.
A: It’s best to let your beauty blender air-dry completely before using it again. Using a damp or wet sponge can affect the application and cause bacteria buildup.
A: Oil-based makeup can be harder to remove than water-based ones. You can try using a cleansing oil or balm to break down the makeup, followed by a gentle soap or cleansing solution to remove the residue.
If you have any more questions or concerns, you can always ask a beauty expert or a dermatologist for advice.
Conclusion
Keeping your beauty blender clean is just as important as using it to achieve that perfect complexion. By following the step-by-step guide, best practices, and creative ideas we provided, you can make sure your beauty blender stays clean, hygienic, and effective. Remember to choose gentle, fragrance-free cleansers and replace your blender regularly. With these tips, you can enjoy a flawless-looking skin and peace of mind.