I. Introduction
Checking oil regularly is essential in maintaining the performance and longevity of a vehicle. Engine oil lubricates moving parts, reduces friction and keeps the engine cool. Without sufficient oil, the engine can become damaged, leading to costly repairs. The purpose of this guide is to provide step-by-step instructions on how to check oil in a vehicle.
II. Step-by-Step Guide on How to Check Oil
Before starting, ensure that the engine is off and has been cool for a few minutes. You will need a few tools to check oil levels, including a piece of clean cloth and the vehicle’s owner’s manual to determine the type of oil needed.
To locate the oil dipstick, open the hood and look for a long plastic or metal stick with a small handle. Pull the dipstick out and use the cloth to wipe it clean. Reinsert it fully into the engine and pull it out again. Look at the end of the dipstick, which should have markings indicating the minimum and maximum oil levels.
When checking the oil level, ensure that the car is parked on a level surface. The oil level should be between the minimum and maximum marks on the dipstick. If the oil level is below the minimum mark, add a small amount of oil and wait for a few minutes for it to settle. Check the level again and add more oil if necessary.
It is also important to check the oil’s color and consistency. If the oil is gritty or has a burnt smell, it may be time for a oil change.
III. Visual Instructions
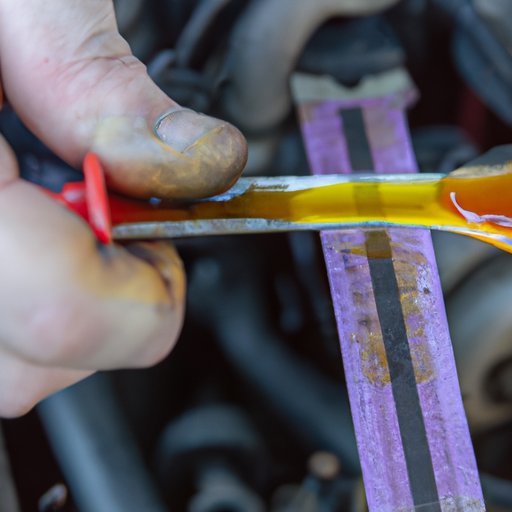
Visual aids help to better understand the process of checking oil in a vehicle. Below are photos or diagrams to help guide you in the process:
Insert photo or diagram here
Provide captions or labels to explain each step in the process.
IV. Video Tutorial
Linking a video tutorial is another helpful way to learn how to check oil levels. Video tutorials are engaging and provide a detailed visual representation of the process. Benefits of video content include step-by-step guidance and a clear demonstration of any complex processes, making it easier to understand.
Insert link to video tutorial
V. Frequently Asked Questions (FAQ)
Here are some anticipated questions and answers that readers may have when checking oil in their vehicle:
1. How often should I check my oil?
It is recommended to check your oil levels every month or before a long journey.
2. At what time of day should I check oil?
Wait at least 10 minutes after turning off the engine before checking oil.
3. Can incorrect readings be prevented?
Ensure the vehicle is parked on a level surface and check oil levels when the engine is cool for accurate readings.
4. What type of oil should I use?
Refer to the vehicle owner’s manual to determine the type of oil needed.
VI. Importance of Checking Oil
Not checking oil regularly can cause serious damage to the engine of a vehicle. Lack of oil can cause the engine to overheat, leading to engine failure. Regular oil checks can detect low oil levels before damage occurs. At the recommended oil level, the engine runs smoothly and efficiently, reducing fuel consumption and emissions. It is important to check oil levels at the recommended time and location to avoid incorrect readings, which can lead to unnecessary repairs.
VII. Conclusion
Checking oil levels in a vehicle is a simple task, but it is essential to maintain the longevity and performance of a vehicle. With the help of this guide, you can save time and money by detecting any issues early. Remember to refer to the vehicle owner’s manual for further instructions. Stay safe and keep your vehicle running smoothly by checking oil levels regularly.