Introduction
If you own an Apple Watch, you know how important it is to have the perfect band to match your style and personality. While choosing a replacement band might be easy, changing it could be a challenge for some. Fear not, because changing your Apple Watch band is a quick and easy process that anyone can master with the right tools and tips. In this guide, we will walk you through the step-by-step process of changing your Apple Watch band, provide solutions to common problems, recommend the best replacement bands, and offer tips for maintaining and customizing your bands.
Step-by-Step Guide to Changing an Apple Watch Band
Before we begin, make sure you have the following tools ready:
- A new Apple Watch band
- A flat surface
- A cloth or towel
- Your Apple Watch
Preparing your Apple Watch for band replacement
First, remove your Apple Watch from your wrist and put it on a flat surface, face down. This will prevent the watch from getting scratched and make it easier to remove the band.
Next, wrap a cloth or towel around the watch to hold it securely in place while you remove the band. This will also protect the watch from any accidental scratches or damage.
Removing the old band
On the underside of the watch, you should see two buttons on either side of the band. Press and hold one of the buttons, then slide the band out of the watch. Repeat this process with the other button to completely remove the band from the watch.
Be careful not to force the band out as this could damage the watch. If you’re still having trouble, use a little bit of pressure while applying the button to release the band.
Installing the new band
Slide the new band into the slot where the old band was removed from, ensuring that it clicks in place. Repeat the process with the other side of the band. You should hear a clicking sound when the band is securely attached.
Once both sides of the band are in place, wiggle the band slightly to ensure it is securely attached.
Finishing touches
Now that the new band is attached, put the watch back on your wrist. Make sure the band is comfortable and fits your wrist snugly.
Adjust the watch so that it is positioned correctly on your wrist. If you need to adjust the size of the band, refer to the instructions provided by the manufacturer of the replacement band you purchased.
Video Tutorial on Changing an Apple Watch Band
If you’re more of a visual learner, check out this video tutorial on changing your Apple Watch band:
Troubleshooting Common Problems in Changing an Apple Watch Band
While changing your Apple Watch band might be an easy process, you may encounter some problems along the way. Here are a few common issues and solutions:
Problems with removing the old band
- The band won’t budge when you press the button: In this case, make sure you are pressing the button closest to the band and apply a little bit of pressure. If the band still won’t budge, try pressing the other button.
- The band is stuck and won’t come out: If the band is jammed and you can’t remove it, try wiggling it gently while pressing the button. Avoid using too much force as this could damage the watch.
Problems with installing the new band
- The band won’t click into place: Make sure you are inserting the band correctly. If the band is still not clicking into place, try removing it and reinserting it more firmly.
- The band is loose: Check to make sure that the band is properly inserted into the slot and is locked into place. If the band is still loose, adjust the size of the band to ensure a snug fit.
Preventive tips to avoid problems in the future
- Inspect your band before attaching it to your Apple Watch to ensure there are no damages or debris that could cause installation issues
- Follow all manufacturer’s instructions when installing a new band
- Regularly clean your Apple Watch to prevent damage or interference with the mechanism

Best Replacement Bands for Your Apple Watch
Now that you know how to change your Apple Watch band let’s take a look at some of the best replacement bands available on the market.
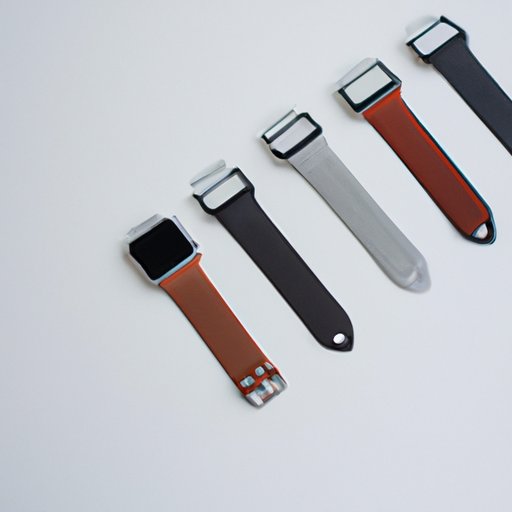
Overview of different types of bands
There are several types of bands available for your Apple Watch, including:
- Metal bands: perfect for a more formal look and are available in multiple colors to match your Apple Watch perfectly.
- Leather bands: perfect for a classic and timeless look. They are available in different colors and styles and are perfect for any occasion.
- Nylon bands: perfect for an active lifestyle. Nylon is a durable material that is easy to clean and perfect for sports or outdoor activities
- Other materials: Silicone, rubber, and other materials available in the market appealing to different Apple Watch users.
Reviews of the best replacement bands
While there are many options for replacement Apple Watch bands, we did the research and reviews to find you the best ones available:
- Best metal band: Kades Metal Band, comfortable and stylish for a formal occasion.
- Best leather band: Nomad Traditional Strap, great quality that over time creates a unique look.
- Best nylon band: Clockwork Synergy Classic NATO, robust, and long-lasting.
Pros and cons of different materials
When selecting an Apple Watch replacement band, consider the following pros and cons of each material:
- Metal bands: Pros: sleek, stylish, and great for formal events, Cons: not as breathable and can be heavy
- Leather bands: Pros: classic and timeless, Cons: can be expensive and not suitable for water activities
- Nylon bands: Pros: comfortable, affordable, and perfect for active users, Cons: Not the best style for formal occasions and may not be durable in the long run.
Styling Tips for Your Apple Watch Bands
Since your Apple Watch band is a reflection of your personal style, here are some tips for choosing and styling the perfect band:
Matching bands with outfits and occasions
- Select bands that complement your outfit and match the occasion
- Choose a matte band for a formal event
- Choose a brightly colored one to add a bit of fun to your outfit for casual activities
Choosing the right band color and style
- If you’re not sure which color or style to choose, go for a classic look that matches almost anything
- Match your band to your accessories or clothing
Pairing multiple bands for different looks
- Invest in multiple bands if you can to switch it up for your different outfits
- Consider the hardware colors such as gold, silver, or rose gold, when selecting your bands.
Maintenance Tips for Your Apple Watch Bands
To keep your Apple Watch bands in great condition, follow these maintenance tips:
Cleaning your bands regularly
- Use warm water and a lint-free cloth to clean your bands properly
- Dry your bands before attaching them back to your Apple Watch
Storing your bands properly when not in use
- Store your bands in a drawer or box away from sunlight and moisture
- Avoid storing your bands in harsh conditions that may damage them
Avoiding damage to your bands
- Avoid exposing your bands to extreme heat or cold as this could cause warping or damage to the material.
- Avoid using harsh chemicals on your bands
Removing stains and blemishes
- For tougher stains, use a soft-bristled brush and add a little soap to the bristles before cleaning the band.
- For mud stains, use a toothbrush and scrub the band gently.
Customization Options for Your Apple Watch Bands
If you want to add a personal touch to your Apple Watch band, here are some customization options to consider:
Adding charms and decorative pieces
- Consider adding charms or decorative pieces to your band
- Make custom pieces on websites like Etsy that match your style
Engraving your bands
- For a more personal touch, consider engraving a meaningful phrase or date onto your band
- Be mindful of the size and style of the band when engraving
Using different stitching or embroidery patterns
- Choose bands that have different stitching patterns or embroidery designs
- Pair double-wrapped bands that show contrasting colors or patterns on each side
Making your bands unique and personalized
- DIY your band with a range of techniques such as tie-dying or painting.
- Explore custom-made bands from designers to select one of a kind
Conclusion
Changing your Apple Watch band is quick and easy once you have the right tools and tips. Whether you want to try a new look or add some personal touches, there are plenty of options for you to choose from. Follow this comprehensive guide, and you’ll be a pro at changing your Apple Watch band in no time.
Don’t be afraid to try new styles and personalize your Apple Watch bands as much as you like. Everything from classic leather bands to unique designs and custom-made pieces, your Apple Watch is yours to express yourself.