Introduction
Have you ever wanted to create your own book? Maybe it’s a journal, a scrapbook, or a novel you’ve been working on. You have the words, the ideas, the pages – but how do you put it all together? Binding a book can seem like a daunting task, especially if you’re new to crafting. But with a little guidance and patience, it’s possible to create a beautiful, handmade book that you’ll be proud to show off. In this article, we’ll walk you through the step-by-step process of bookbinding and offer tips and tricks to troubleshoot any issues that may arise. We’ll also provide a comparison of different binding methods, tools and materials needed, and even share guidelines on how to teach bookbinding to children. Let’s get started!
Step-by-Step Guide
The first step to binding a book is to start with a plan. Consider how many pages you’ll need, the size of your book, and what type of binding you’d like to use. Once you’ve established your plan, you can move on to the physical process of bookbinding.
1. Fold the Paper: To create a booklet, take your stack of paper, and neatly fold them in half. Use a bone folder tool to get nice, crisp folds.
2. Cut the Paper: Use a paper cutter to trim off any excess edges that may be uneven or out of place.
3. Punch Holes in the Paper: Depending on the binding technique you choose, you’ll need to punch holes in the folded paper at even intervals. Use a bookbinding awl (a sharp tool with a pointed tip) to make holes that are uniform in size and shape.
4. Sew the Paper: Thread a needle, then sew in and out of each hole, creating the book’s binding. Be sure to sew tightly so that the pages stay together.
5. Glue the Binding: Once the sewing is complete, glue the binding to the spine of the book. With your fingers, press the cover to the book spine to ensure a tight seal.
Visual Guide
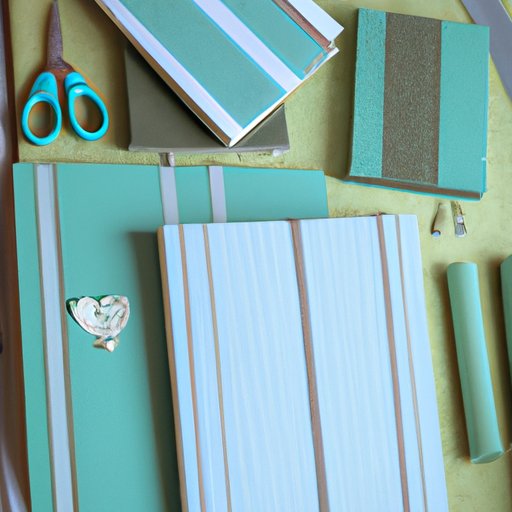
While the step-by-step instructions above may be clear, it can be helpful to have visual aids to guide you during the process. Below are some links to websites where you can find images or even videos of the bookbinding process:
– Instructables: A step-by-step guide with photos
– Sea Lemon on YouTube: A variety of bookbinding video tutorials
– Bookbinding for Amateurs on YouTube: A tutorial using a hardcover binding method
Troubleshooting Guide
Despite one’s best efforts, bookbinding can have some kinks. Below are some common issues that may arise during the bookbinding process, as well as ways to fix them:
– Papers not folding evenly: Cut your paper stack to a uniform size so that your folded papers are all the same size
– Holes too big or too small: Use proper punching tools, such as a bookbinding awl, to ensure even sizing
– Sewing too loose: Tighten the sewing as you are completing each section
– Glue seeping out: Remove any extra glue with a damp rag or cotton swab
Comparison of Different Binding Methods
There are various binding methods to choose from when binding a book. Below are some of the most popular options, along with their pros and cons:
– Japanese Stab Binding:
Pros: Simple and elegant
Cons: Cannot create thicker books due to the stab binding method
– Coptic Stitch Binding:
Pros: Beautiful and durable; lays flat when opened
Cons: Time-consuming process
– Spiral Binding:
Pros: Allows book to lay flat and can accommodate larger page counts
Cons: Limited design options
Tools and Equipment Required
Here are some of the main tools and materials needed for bookbinding:
– Paper: Select the type of paper you’d like to use, be it printer paper, cardstock, or other.
– Cutting mat and knife: These tools will allow you to cut your paper to the appropriate size.
– Bone folder: This tool assists in creating sharp folds around the edges of your paper.
– Awl: This tool creates the holes needed to sew your pages together.
– Needle and thread: You’ll need a needle and thread to bind your pages together.
– Glue: Use a strong glue to bind your pages to the cover.
Bookbinding for Kids
Bookbinding is not just for adults – it’s a fun and engaging activity for children, too! Here are some guidelines to teaching bookbinding to kids:
– Cut smaller paper sizes: Younger children may find it difficult to work with larger pages. Start them off with smaller sheets of paper.
– Use simple binding methods: Coptic stitch binding is a great place to start. Its simple design is easy to follow and will create a sturdy, practical book.
– Use fun papers: We all love colorful and patterned paper. Provide fun and interesting papers for kids to choose from to make their books more exciting to create.
Conclusion
After reading this guide, we hope that you feel equipped to bind your own book. It may seem like a daunting task, but rest assured that with some patience and practice, you’ll be able to create beautiful, handcrafted books. Remember to start with a plan and choose a binding style that suits your needs. If you’re still having trouble or have questions, please feel free to reach out to us.