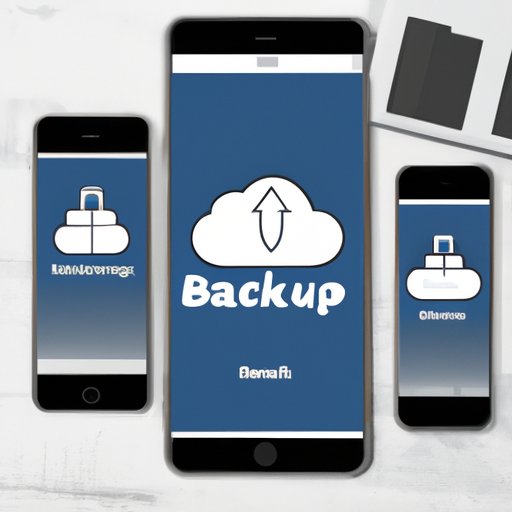
Introduction
Most iPhone users know it’s important to back up their data regularly, but they may not know how, especially when it comes to backing up their data to a Mac. Fortunately, there are a variety of ways to back up your iPhone to your Mac, and in this article, we will cover three main methods: using iTunes, using iCloud, and using third-party software. With each method, we will provide step-by-step instructions, highlight the pros and cons, and offer additional tips and tricks.
Method 1: Using iTunes
iTunes is Apple’s default tool for backing up and syncing iOS devices. To use iTunes to back up your iPhone to your Mac, follow these steps:
- Connect your iPhone to your Mac using a USB cable.
- Launch iTunes on your Mac.
- Select your iPhone from the list of devices in iTunes.
- Click “Back Up Now”.
- Wait for the backup to complete. This process may take a while depending on the size of your backup data.
If you want to encrypt your backup data, which will protect your data from unauthorized access, you can do so by checking the box next to “Encrypt iPhone Backup” and setting a password. Keep in mind that if you forget your password, you won’t be able to access your backup data.
If you encounter any issues during the backup process, such as error messages, make sure that your Mac and iTunes are up to date and that you have enough storage space on your Mac and iPhone. If the issue persists, try restarting both your Mac and iPhone before attempting to back up again.
Method 2: Using iCloud
Another option for backing up your iPhone is to use iCloud, Apple’s cloud-based storage service. Here’s how to back up your iPhone to iCloud and access your iCloud backups on your Mac:
- On your iPhone, go to “Settings” > “iCloud” > “Backup”.
- Toggle on “iCloud Backup”.
- Tap “Back Up Now”. You can also set up automatic backups by toggling on “Auto Backup”.
- To access your iCloud backup on your Mac, open Finder and go to “
~/Library/Application Support/MobileSync/Backup/“.
Using iCloud to back up your iPhone has several benefits, such as the convenience of automatic backups and the ability to access your backups from any device. However, it also has some drawbacks, such as the limited storage space (only 5GB for the free plan) and the need for a Wi-Fi connection to back up or restore data.
Method 3: Using Third-Party Software
If you prefer more control over your iPhone backups or need additional features, you may consider using third-party software. Some popular options include iMazing, AnyTrans, and Dr. Fone. Here’s how to back up your iPhone to Mac using iMazing:
- Download and install iMazing on your Mac.
- Connect your iPhone to your Mac using a USB cable.
- Launch iMazing and select your iPhone.
- Click “Back Up”
- Wait for the backup to complete.
Third-party software can offer features like selective backups, incremental backups, and more storage options. However, keep in mind that these apps may require a subscription or one-time purchase to access all their features.
Comparison of Methods
| Method | Pros | Cons |
|---|---|---|
| iTunes | Convenient for syncing and updating iOS devices. No internet connection required. | May have compatibility issues with newer Mac operating systems. Can be slow to back up and restore data. |
| iCloud | Automatic backups and ability to access backups from any device. No need for a physical connection. | Limited storage space. Requires a Wi-Fi connection to back up or restore data. |
| Third-party software | Additional features and control over backups. More storage options. | May require a subscription or one-time purchase. Can be slower depending on software. |
Additional Tips and Tricks
Before backing up your iPhone to your Mac, consider freeing up space on your iPhone by deleting old messages, photos, and apps you no longer use. This will make the backup process faster and save space on your Mac for other files. Additionally, consider which method works best for your situation. For example, if you travel often and want to back up regularly, iCloud may be more convenient for you.
Conclusion
Backing up your iPhone to your Mac is a crucial step in ensuring you don’t lose your data in case something happens to your iPhone. While iTunes, iCloud, and third-party software can all help you back up your data, each method has its own strengths and weaknesses. Choose the method that works best for you and remember to back up your data regularly.