I. Introduction
Blush is a cosmetic product that enhances your cheekbones and adds a pop of colour to your face. It comes in different shapes, sizes, and finishes. Applying blush correctly can help make your face look more lively and youthful. This article aims to provide a step-by-step tutorial on how to apply blush, along with additional tips and techniques to achieve the perfect look for your face shape and skin tone.
II. Step-by-Step Tutorial
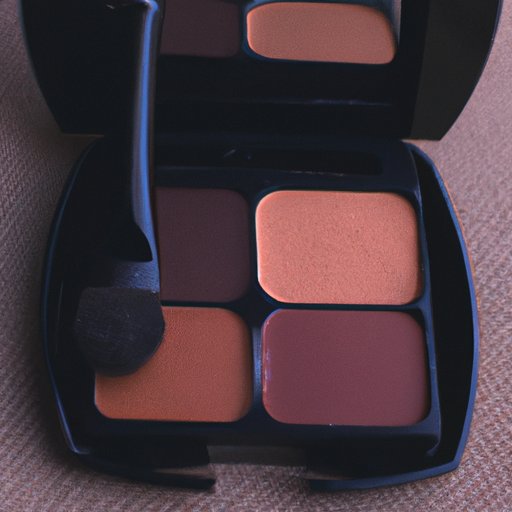
Blush comes in different types, including powder, cream, gel, and liquid. It also requires specific tools to apply it properly. You’ll need a blush brush and a mirror to ensure even application:
A. Types of blush
Powder blush is most common, it’s ideal for oily skin, but it can look heavy on dry skin types. Cream and liquid blush tend to be more hydrating and natural-looking on dry skin. Gel blush is long-lasting, but it requires skill to apply it evenly.
B. Tools required
Invest in a good quality blush brush, which can be round, angled, or tapered. Synthetic brushes are best for liquid and cream blush, while natural brushes are suitable for powder blush. Make sure to clean your brush regularly to avoid bacteria build-up.
C. Step-by-step guide to applying blush
- Preparing your face: Start with a freshly washed, moisturized face. Apply a foundation or face powder before blush application.
- Choosing the right blush shade: Choose a blush shade that suits your skin tone and complements your makeup look. For fair skin, go for pink or peach blush, while coral and rosy pink are perfect for medium skin tones. Deep skin tones can use deep berry or burgundy shades.
- Applying blush on cheeks: Smile and identify the apples of your cheeks, apply blush to the apples of your cheeks with a light hand and work your way upwards along your cheekbone.
- Blending the blush properly: Use soft circular motions to blend the blush into your skin, ensuring there are no harsh edges or lines.
D. Pictures or Videos demonstrating each step
Pictures or videos are essential to help understand each step accurately. Check out makeup tutorials for more guidance.
III. Face Shape Guide
Different face shapes require different blush techniques to achieve the perfect look. Below are some tips and techniques that suit various face shapes.
A. Introduction to face shapes
There are many different face shapes like round, oblong, square, diamond, heart, and triangle. Each face shape requires different techniques to shape and contour the face structure.
B. Techniques of applying blush on round, oblong, square, and heart-shaped face.
For a round face, apply blush directly below the cheekbones and angle it upwards towards the temples to make them look more defined. For an oblong face, apply blush directly onto the apples of the cheeks to add width. For a square face, apply blush at the highest point of the cheekbones and blend outwards towards the earlobes to create soft edges. For a heart-shaped face, apply blush below the cheekbones and blend upwards towards the temples and hairline to balance out the pointed chin.
C. Highlighting the best spots for each face shape
Depending on your face shape, it’s essential to highlight specific areas to add dimension. For a round face, apply a highlighter above the temples, below the brows, and on the nose bridge. For an oblong face, apply a highlighter on the forehead, nose bridge, and chin. For a square face, apply a highlighter on the cheekbones, nose bridge, and chin. For a heart-shaped face, apply a highlighter above the cheekbones, to the inner corner of the eyes, and on the nose bridge.
D. Pictures or Videos demonstrating each technique.
Videos or pictures of each face shape with applied blush can provide more clarity, helping you to understand what looks good for your face structure.
IV. Product Reviews
Choosing the right blush for your skin type and tone is crucial. You’ll need to consider your skin’s undertones, whether they are warm, cool, or neutral. Here are some tips on selecting the right blush color and finish for different skin types.
A. Introduction to choosing the right blush for your skin tone
If you have warm undertones, go for peach, coral, and reddish-pink blush. For cool undertones, try rose, pink, and plum hues. If you have neutral undertones, all shades work well for you.
B. Tips on selecting the right blush color and finish for different skin types.
For oily skin, powder blush with a matte finish is perfect. For dry skin, cream or liquid blush with a dewy finish is ideal. For combination skin, powder blush with shimmer is a good option. When choosing blush, always ensure it complements your skin tone well.
C. Best brands and shades for different skin tone
Some of the best blush brands include Nars, Milani, MAC, Maybelline, Clinique, and Benefit. Nars’ Orgasm is a popular shade amongst different skin tones and types.
D. Pictures or Videos demonstrating the use of each brand or shade.
Pictures or videos demonstrating the use of each brand will make it easier for you to compare shades and finishes, helping you to decide which blush to invest in.
V. Brush vs fingertips
The method you use to apply your blush can affect the outcome of your makeup look. You can use a brush or your fingertips to apply your blush, but each method has its pros and cons.
A. Introduction to using brush and fingers for blush application
Using a brush provides a more precise application, while using your fingers provides a more natural and blended look.
B. Pros and cons of using a brush vs fingers.
Using a brush ensures that the blush is evenly distributed on your cheeks and provides greater control for precise application; however, it can often look too heavy or unnatural. Using your fingers, while less precise, allows you to blend it more seamlessly and create a more natural look. However, it’s not the best option, especially if you have oily skin or large pores.
C. Recommendation on which method is preferable in different scenarios.
Using a brush is best for formal events and when you want a precise and defined look. Fingertips are best for casual and day-to-day makeup looks. In a hurry, fingertips are also the best, as it saves time, and you can apply it on the go.
VI. Blush Trends
Blush is one of the most versatile makeup products you can use. Different trends come up every season, but the traditional method of applying blush has been around for decades. Let’s discuss some trendy techniques of applying blush.
A. Introduction to current blush trends.
Korean beauty has introduced many new trends, one of which is the gradient blush. Then comes the sun-kissed and dewy blush. Glossy blush is also another trending style.
B. Korean gradient blush and application technique.
Korean gradient blush involves applying a lighter shade on the cheeks’ inner area and a darker shade on the outer area. The blended effect creates a natural and youthful look. You can achieve this look by using a damp sponge to apply the lighter shade on the apples of your cheeks, followed by the darker shade on the outer area. Always start with a light hand when applying, you can add more layers as you go.
C. Sun-kissed blush and application technique.
Sun-kissed blush adds warmth and glow to your face. Start by applying bronzer to the cheekbones first, then add blush on top. Be light-handed when applying blush to achieve a natural look.
D. Glossy blush and application technique.
Glossy blush is perfect for creating a radiant and dewy look. Apply a powder or cream blush first, then add a clear, glossy lip balm or gloss over the top to achieve the glossy look.
E. Best occasions to use each style of blush
Gradient and glossy blush work well for evening and night events, while the sun-kissed look is great for daytime events.
F. Tips on how to achieve each style of blush.
Achieving each style of blush requires the right tools and products for each look. Experiment and try different techniques until you find your suitable style.
VII. Conclusion
Applying blush can be easy and fun once you understand your face shape, skin tone, and the correct technique. Follow the above guide to achieve the best look for your face shape and explore current blush trends. Invest in good quality products and tools, and always remember to blend your blush well. Keep practicing and experimenting until you find your perfect style and technique.
VIII. Final recommendations and tips
Always start with a light hand, then add more layers until you achieve your desired look. Always blend your blush properly. Invest in good quality brushes and clean them regularly to avoid bacteria build-up. Make sure your blush complements your makeup look and skin tone. Finally, have fun experimenting with different blush styles and techniques.
IX. Call to Action
We hope the above tutorial helps you achieve the perfect blush look for your face shape and skin tone. Please share your thoughts and experiences in the comments section below.