Introduction
Have you ever tried to transfer files between your iPhone and MacBook, only to find yourself struggling to get the process right? If so, you’re not alone. Many users have trouble with airdropping files between their devices, especially if they’re new to the process. The purpose of this article is to provide a comprehensive guide that will help users solve this problem and transfer files easily and efficiently.
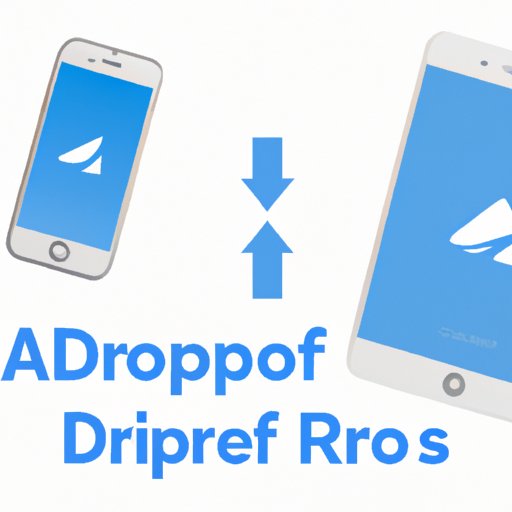
Step-by-step guide with screenshots
The first step to a successful file transfer is understanding the process of airdropping files from iPhone to MacBook. To get started, open the Control Centre on your iPhone and tap on the Airdrop icon. Then, select the files you want to transfer and tap on the Share icon. A list of available devices will appear, and you should see your MacBook listed there. Simply tap on your MacBook and the file transfer will begin.
For a more detailed guide with screenshots, follow these steps:
- Open Control Centre on your iPhone by swiping up from the bottom of the screen.
- Tap on the Airdrop icon and make sure that “Contacts Only” or “Everyone” is selected.
- Open the file you want to transfer and tap on the Share icon.
- You will see a list of available devices, including your MacBook. Tap on your MacBook.
- You will receive a notification on your MacBook asking you to accept the file transfer. Accept it, and the transfer will begin.
By following these simple steps, you should be able to transfer files from your iPhone to your MacBook quickly and efficiently.
Video tutorial
If you’re still having trouble with airdropping files between your devices, a video tutorial can be a helpful resource. Check out this tutorial video for a step-by-step guide on how to airdrop iPhone to MacBook.
Video tutorials can be especially helpful because they provide visual aids that can make the process of file transfer much clearer. If you prefer to learn by watching and doing, a video tutorial is a great place to start.
Highlighting the benefits of using Airdrop
One of the main benefits of using Airdrop for file transfer is its ease of use. With Airdrop, you don’t need any cables, and the process is simple and quick. Airdrop also allows you to transfer files of all sizes, so you won’t have to worry about compatibility issues. Additionally, Airdrop is a secure way to transfer files, ensuring that your data remains private and protected.
Compared to other file transfer methods, such as email or Dropbox, Airdrop is faster and more convenient. It also doesn’t require an internet connection, making it an ideal option for users who are on the go.
Common mistakes to avoid
While airdropping files is generally easy, there are some common mistakes that users make that can cause frustration and wasted time. For example, users may forget to turn on Airdrop on either their iPhone or MacBook, or they may not have the correct settings enabled on their devices. To avoid these mistakes, make sure that both Airdrop and Bluetooth are turned on and that your devices are visible to each other. You should also check your Airdrop settings to make sure that either “Contacts Only” or “Everyone” is selected.
Compatibility
Another common issue users may experience when trying to airdrop files is compatibility. Older devices may not be able to use Airdrop, and some users may not have the latest version of iOS or macOS installed. Before attempting to airdrop files, make sure that your devices meet the compatibility requirements.
How to troubleshoot
If you’re still having trouble with file transfer through Airdrop, there are several troubleshooting steps you can take. First, make sure that your devices are close to each other and that there are no obstructions in between them. You should also check your device settings to make sure that Airdrop is enabled and that both devices are visible to each other. Finally, restarting your devices or toggling off and back on the Airdrop setting can sometimes help solve the problem.
Alternatives to Airdrop
While Airdrop is generally the best option for file transfer between iPhone and MacBook, there are alternatives available. Users can transfer files through email, Dropbox, or other cloud-based file sharing services. However, these methods may not be as quick or secure as Airdrop. They may also require an internet connection, which can be a drawback if you’re on the go.
Conclusion
Overall, airdropping files from iPhone to MacBook can be a quick, convenient, and secure process when done correctly. By following the simple steps outlined in this guide, you should be able to transfer your files efficiently and easily. Remember to enable Airdrop and Bluetooth on both devices, check your compatibility requirements, and stay close to your devices during the transfer process. If you do encounter any issues, remember to troubleshoot and use Airdrop alternatives when necessary.