The Ultimate Guide on How to Add a Signature in Gmail
Gmail is a popular email service offered by Google that allows users to send and receive emails. One of the most useful features of Gmail is the ability to create a signature that appears at the bottom of all outgoing emails. Whether you’re using Gmail for personal or professional purposes, having a signature can add a professional touch to all your correspondences. In this guide, we’ll cover how to add a signature in Gmail while also discussing related topics.
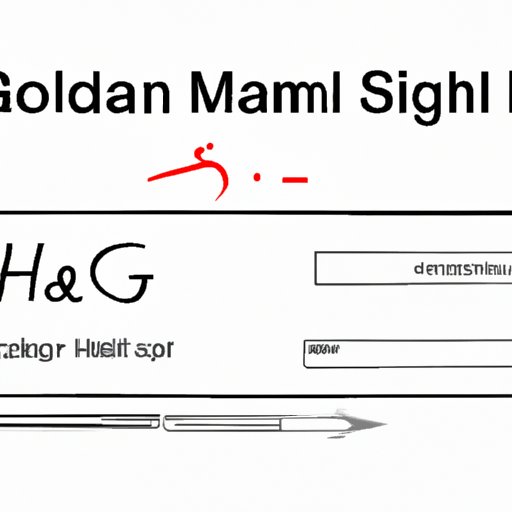
Step-by-Step Guide on Adding a Gmail Signature
Adding a signature in Gmail is a straightforward process. Here’s how to do it:
- Open Gmail and click on the gear icon in the top right corner of the page.
- Select “Settings” from the dropdown menu.
- Scroll down to the “Signature” section and click on the box labeled “No signature.”
- Enter your desired signature in the text box.
- If desired, format the signature using the formatting options above the text box.
- Click “Save Changes” at the bottom of the page.
If you run into any issues while creating a signature, check that you’ve enabled signatures in your account. To do this, go to “Settings” and select the “General” tab. Make sure that the “Signature” option is set to “On.”

Video Tutorial on Adding a Gmail Signature
For those who prefer visual demonstrations, we’ve created a video tutorial that walks you through how to add a signature in Gmail. Check it out below:
Remember to subscribe to our channel for more tutorial videos!
Using Images and Icons in Gmail Signatures
Adding images and icons to your Gmail signature can make it more visually appealing and informative. To add an image or icon to your signature, follow these steps:
- Upload the image or icon to your Google Drive account.
- Right-click on the image file and select “Share.”
- Change the sharing settings to “Anyone with the link can view.”
- Copy the sharing link.
- In Gmail, click on the “Insert Image” button in the formatting options bar.
- Paste the sharing link in the “Web Address (URL)” field.
- Click “Insert.”
You can customize the size and placement of the image or icon by dragging and resizing it in the signature editor.
Highlighting Key Features in Gmail Signatures
Gmail offers several advanced options for creating signatures beyond the basics. Here are a few key features to know about:
- You can add hyperlinks to text or images in your signature. Just highlight the text or image and click on the “Link” button in the formatting options.
- You can include your social media profiles by adding social media icons to your signature. You can find free social media icons online or create your own using graphic design software.
- You can create an “email me” button that allows recipients to quickly compose a new email to you. To do this, click on the “Insert Link” button and enter “mailto:youremailaddress” in the URL field.
To access and customize these features, click on the “Settings” gear icon and select “Settings.” Then scroll down to the “Signature” section and click on the formatting options bar to access more options.
Creating an HTML Signature in Gmail
HTML signatures are another way to add more customization and functionality to your Gmail signature. An HTML signature is created using HTML code, which allows for more advanced formatting options. Here’s how to create an HTML signature and add it to Gmail:
- Open your preferred text editor or HTML editor.
- Write the HTML code for your signature, including any text, images, or hyperlinks you want to include.
- Save the file as a .html file.
- Upload the HTML file to your Google Drive account.
- Right-click on the file and select “Share.”
- Change the sharing settings to “Anyone with the link can view.”
- Copy the sharing link.
- In Gmail, click on the “Insert Link” button and paste the sharing link in the “Web Address (URL)” field.
Remember to test the HTML signature before adding it to your email account to ensure that it appears properly.
Customizing Multiple Signatures in Gmail
Creating multiple signatures for different purposes can be beneficial for those who send emails for both personal and professional purposes. Here’s how to create and customize multiple signatures in Gmail:
- Open Gmail and click on the gear icon in the top right corner of the page.
- Select “Settings” from the dropdown menu.
- Scroll down to the “Signature” section and click on “Create New.”
- Enter a name for the new signature.
- Enter the desired signature in the text box.
- Format the signature if desired.
- Click “Save Changes.”
- Repeat these steps for any additional signatures.
To switch between signatures when composing a new email, click on the “Insert Signature” button (represented by a small pen icon) in the email composition window and select the desired signature.
Tips and Tricks for Creating a Great Gmail Signature
When creating a signature, it’s important to find the right balance between professionalism and personalization. Here are some tips for creating a great Gmail signature:
- Include your name, job title, and contact information (such as your phone number and email address).
- Consider including a call-to-action, such as a link to your blog or social media profiles.
- Keep the design simple and easy to read.
- Limit yourself to one or two colors.
- Avoid using too many images or graphics.
Conclusion
In this guide, we’ve covered how to add a signature in Gmail, including how to use images and icons, highlighting key features, creating an HTML signature, and customizing multiple signatures. We hope that these tips and tricks will help you create a professional and personalized signature that stands out to all who receive your emails.
Remember to experiment with different designs until you find the one that works best for you and your brand.