I. Introduction
Caulk can be a lifesaver when it comes to sealing cracks and gaps in your home, but waiting for it to dry can be frustrating, especially if you’re in a hurry. Fortunately, with a little knowledge and some proven tips, you can speed up the drying process and get back to your normal routine quickly.
II. Overview of Drying Process
The drying time of caulk varies between 24 hours to 72 hours, depending on the type and environmental conditions. In most cases, it takes a full day for the caulk to dry completely. However, if you’re in a hurry, certain tips like increasing ventilation, prepping the surface, and choosing the right caulk can help speed up the process and reduce drying time. It’s also important to understand the different types of caulks and how they dry.
III. Factors That Impact Drying Time
Several factors can impact the drying time of caulk, including temperature, humidity, and the type of caulk you’re using. High humidity can slow the drying process, while high temperatures can speed it up. The temperature and humidity conditions should be within the manufacturer’s recommendations for optimal drying. Other factors that can impact drying time include the thickness of the caulk layer, the type of surface, and the depth of the gap.
IV. Best Caulk for Fast Drying
Acrylic latex caulk is the best choice when it comes to fast drying. It has a short drying time, usually around 24 hours, and it’s easy to apply. Silicone caulk, on the other hand, can take up to 72 hours to dry completely. While it’s durable, it’s not ideal for projects with a short deadline. There are also hybrid caulks like polyurethane caulk that dry fast and are waterproof, making them ideal for outdoor projects.
V. How to Tell When Caulk is Fully Dry
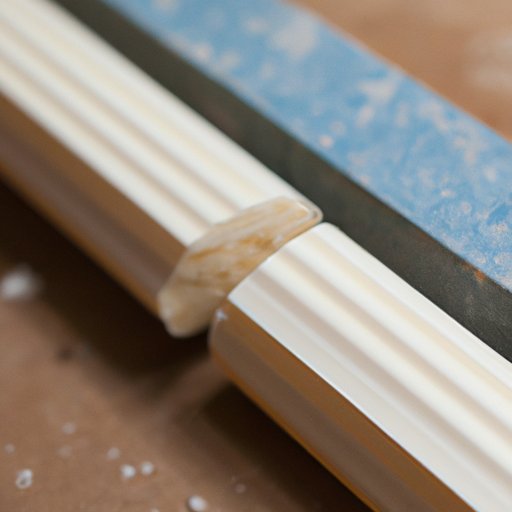
It can be challenging to tell when caulk is fully dry, especially if you’re not familiar with the curing process. A general rule of thumb is to wait at least 24 hours before touching the caulk. If it’s still tacky or has a glossy sheen, it’s not fully dry. Once it’s dry, you can paint over it or use it as intended. If you’re still unsure, you can also perform a quick test by pressing the caulk with your finger. If it’s firm and doesn’t leave an impression, it’s fully dry.
VI. How to Speed Up Caulk Drying Time
If you’re in a rush, simple strategies like increasing ventilation, using a fan, or lowering the humidity level can help reduce the drying time. It’s also important to prep the surface by removing any debris and ensuring it’s dry before applying caulk. Another quick tip is to apply a thin layer of caulk to reduce drying time. If you need to use silicone caulk, adding a small amount of vinegar can also help speed up the drying process.
VI. Common Mistakes That Impact Drying Time
Common mistakes that can impact drying time include applying too thick of a layer, not prepping the surface correctly, and choosing the wrong type of caulk. It’s also important to avoid using caulk when the temperature and humidity conditions are outside the manufacturer’s recommendations. Using the wrong type of caulk can also impact drying time, so make sure to choose the right caulk for your project.
VIII. Conclusion
Overall, understanding drying time and the factors that impact it can help you avoid frustrating delays in your home repair projects. Choosing the right caulk, prepping the surface correctly, and following the manufacturer’s recommendations are all critical steps to ensure that your caulk dries on time and performs as intended. Whether you’re a seasoned DIY enthusiast or a first-time user, these tips will ensure your next caulk project goes smoothly.